|
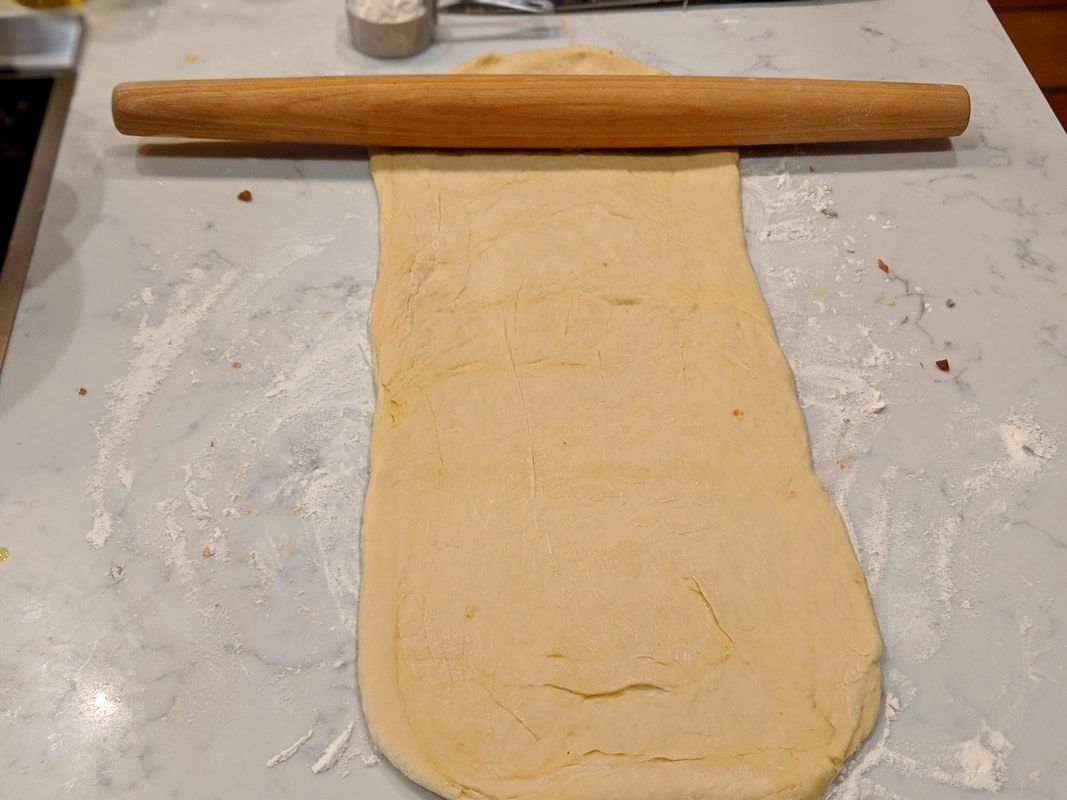
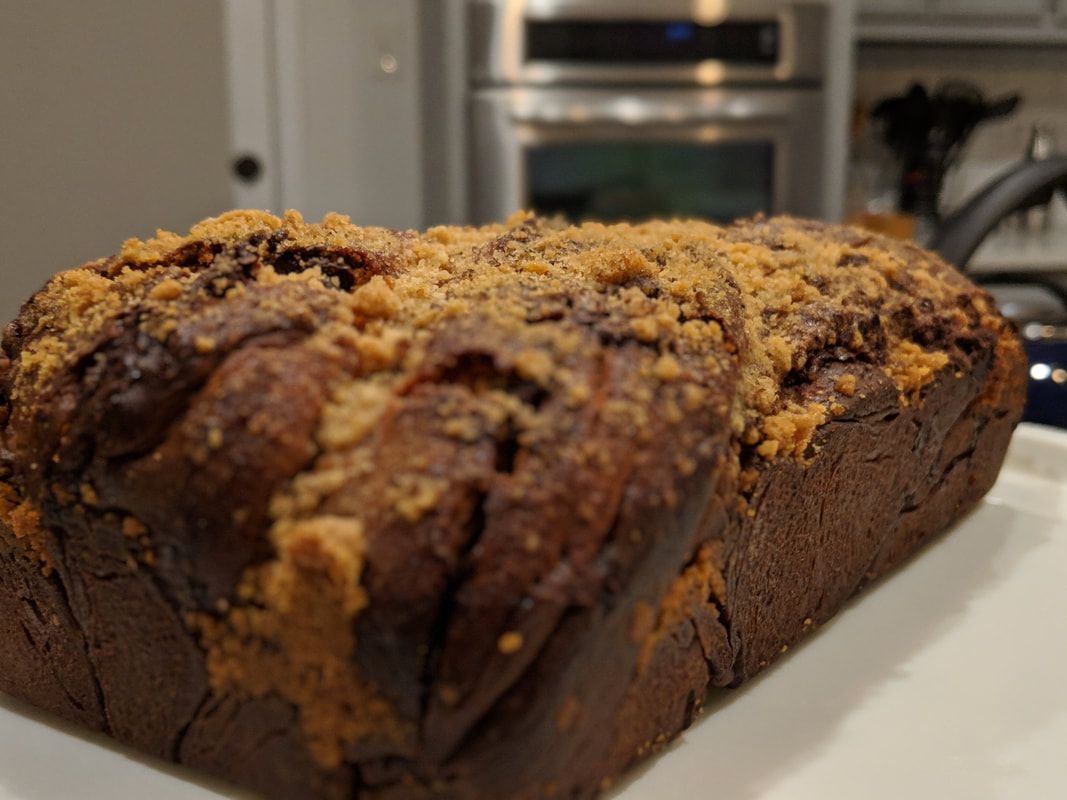
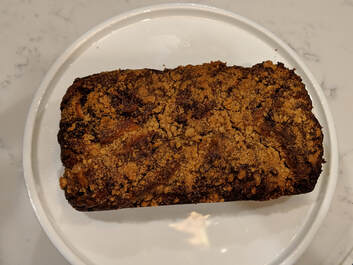
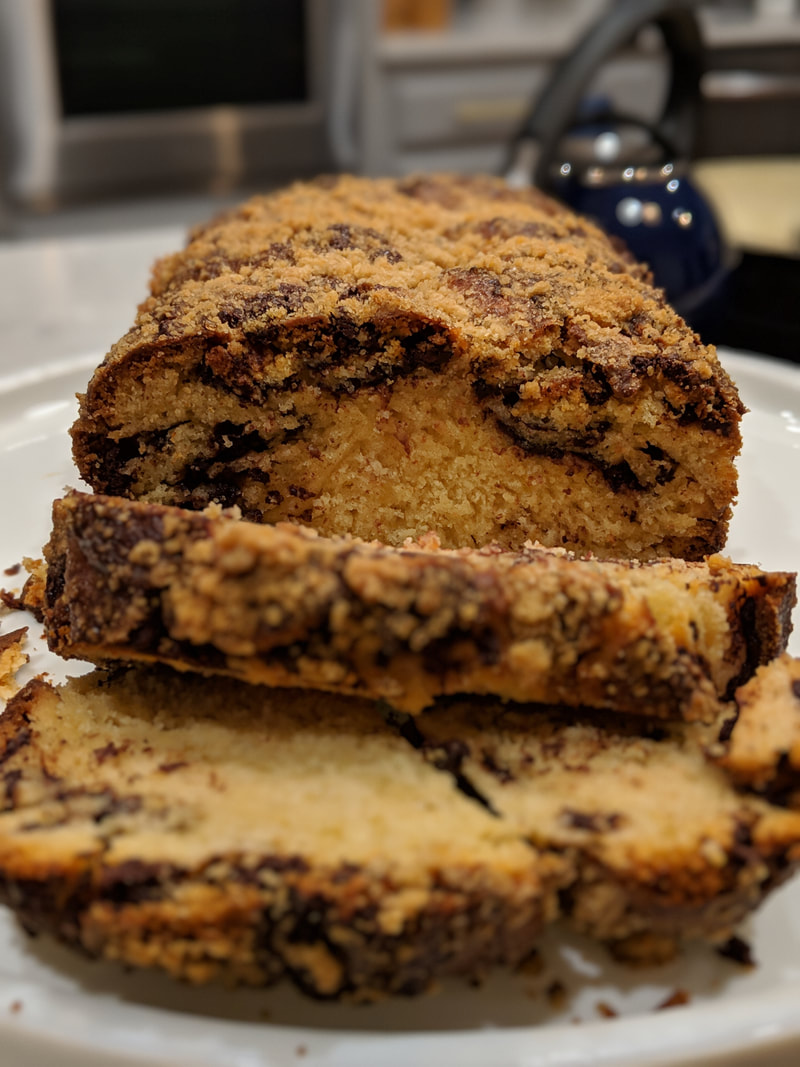
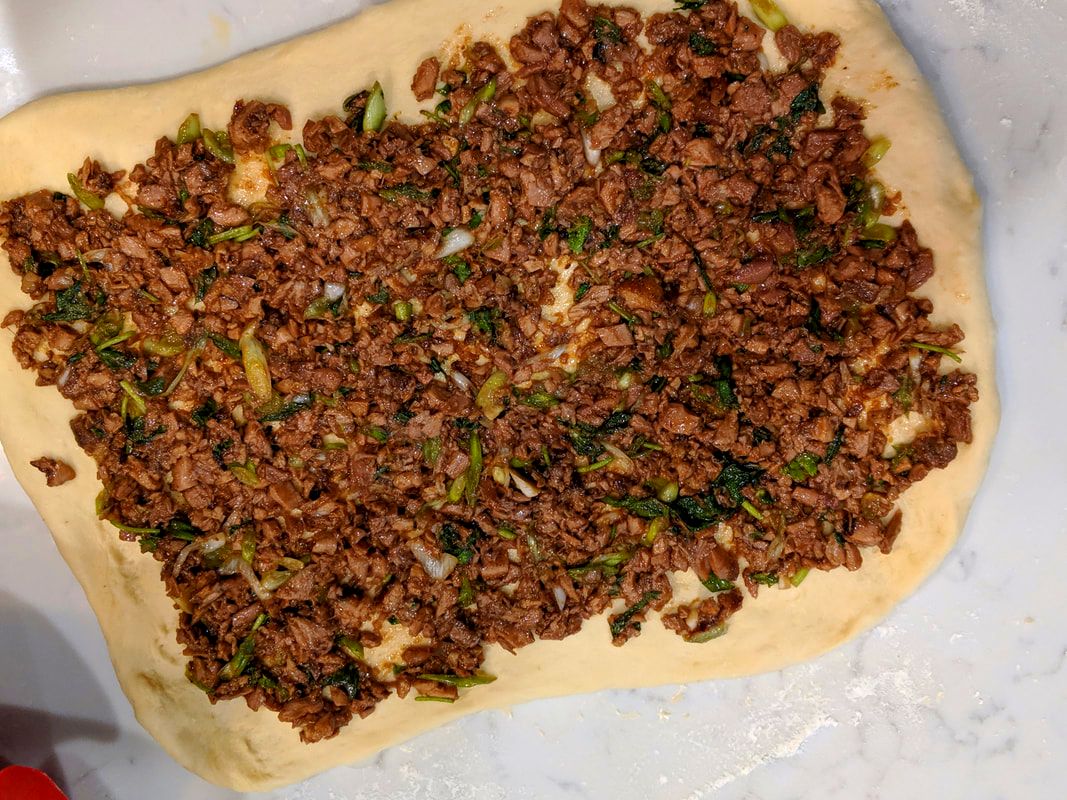
Bread, bread, bread week. Like I said in my previous GBBO post, I was really looking forward to #breadweek. I never thought in my baker’s life that I would enjoy making bread, but I find it to be a very therapeutic experience. You can definitely work out some anxiety as you knead that bread! The "PROOF" is below. (Get what I did there?) For my filled loaf I decided that I should bake my first Babka. A babka is a filled loaf that is generally sweet and comes from Eastern European origins. At different times in history the babka is referred to as a babka cake because it can be prepared in a Bundt pan instead of a loaf tin. Historically, the filling of a traditional babka has been seeds and nuts. Later on chocolate was added as a delicious filling of choice and now chocolate and cinnamon are regular filling components. Because CHOCOLATE and CINNAMON. The yeasted dough of the babka itself is sweet. To me the dough felt like a cross between a brioche and challah bread. I had two main goals for my practice babka: (1) was to get a feel for how long I needed to work the dough in order for it to rise and handle the filling and (2) was to figure out baking time. This was after the first proof and rolling it out into a rectangle. I used some tips about shaping from King Arthur. I didn’t actually snap many pics as I was making the dough- mainly because I was sweaty from kneading and it took the dough a minute to come together (and plus, I forgot...oops). I chopped up semisweet chocolate and mixed it with cinnamon and butter and spread it over the dough. I was careful not to spread the filling mixture all the way to the edges so that it wouldn’t spill out. I left about a ½-1” of room so that the dough would roll up as neatly as possible. I added some of my espresso sugar to the mixture- ya know, to make it special - that I got from NOLA — see NOLA post here. After filling comes the shaping and second proofing. I think I did pretty decent on the shaping, however, some of the bread came apart in sections when I cut into it. The sections separated at the filling and dough borders. I am not sure if this is because of baker error or due to the shaping. Lessons learned: The Next time I make a babka…
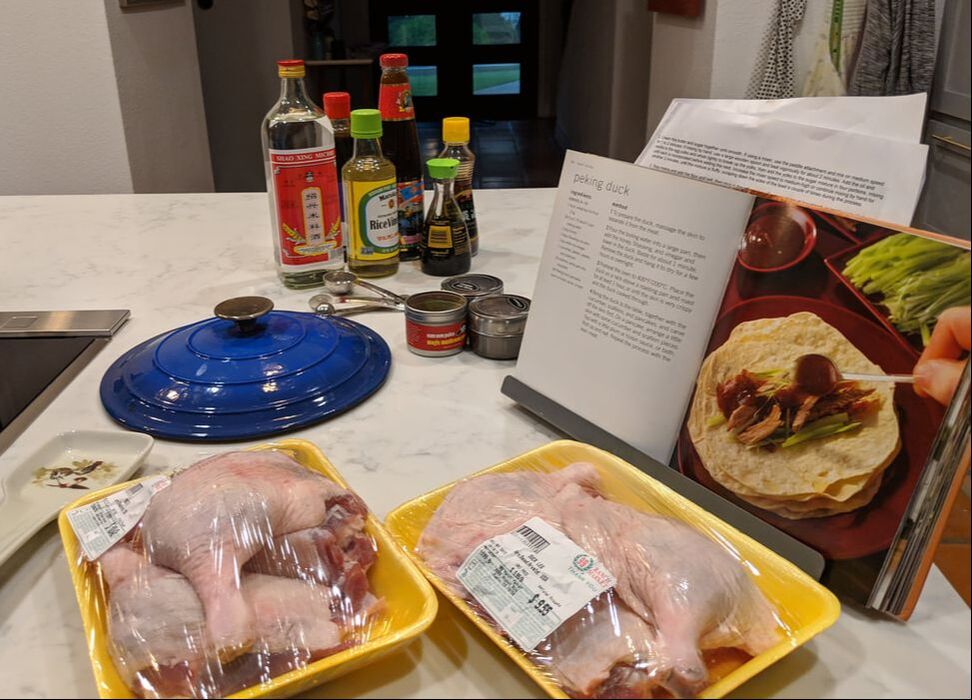
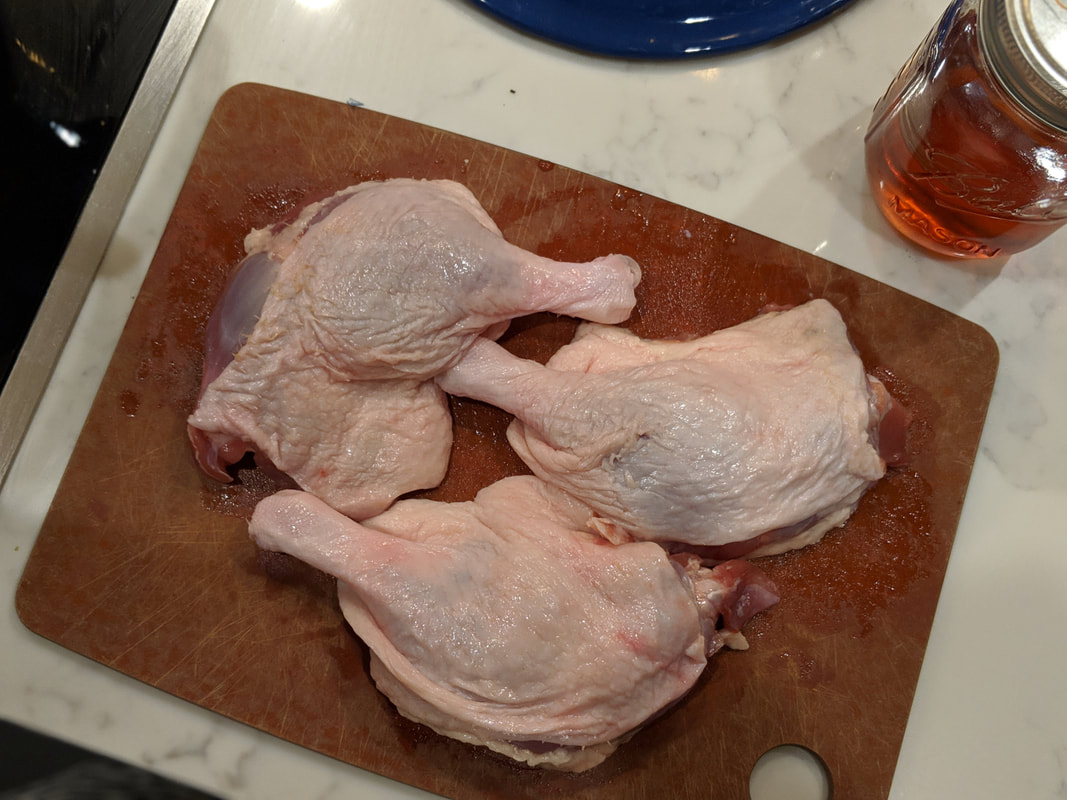
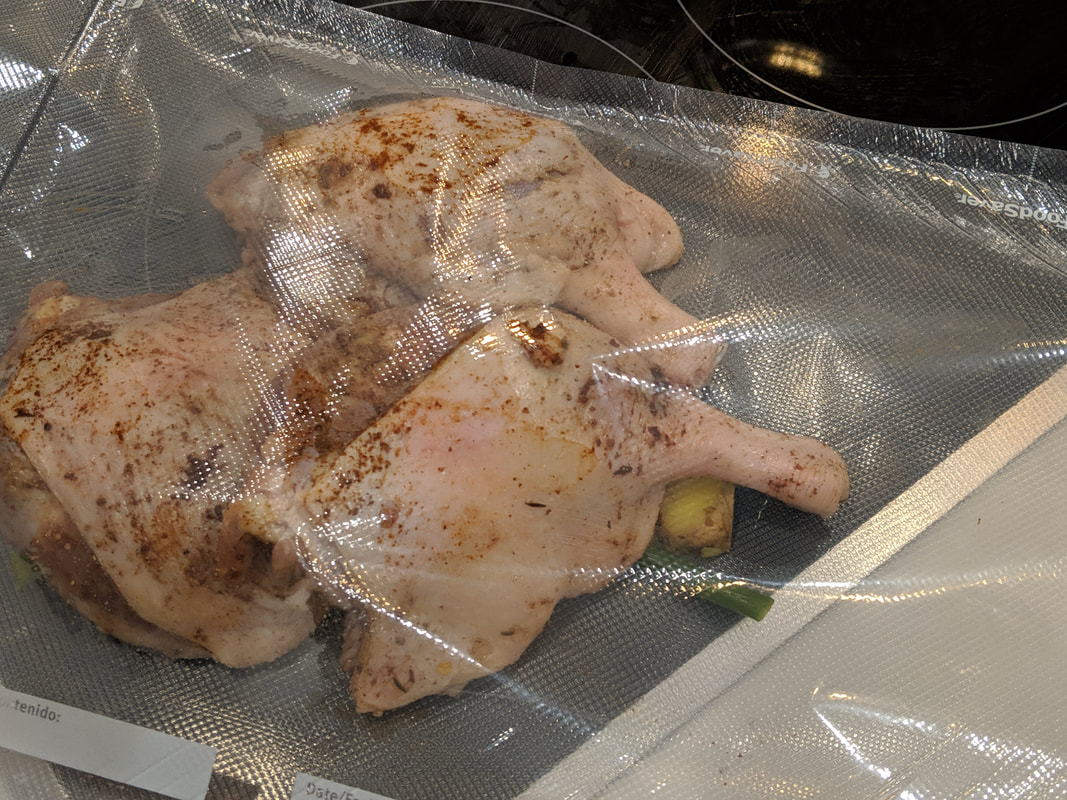
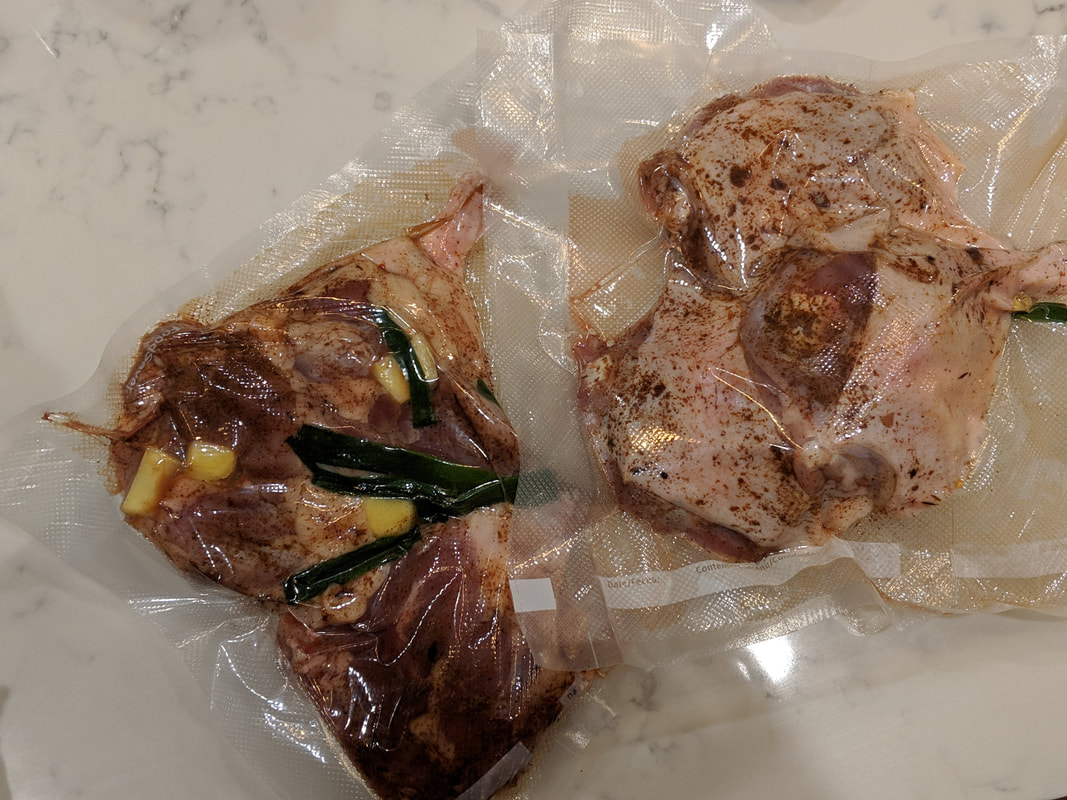
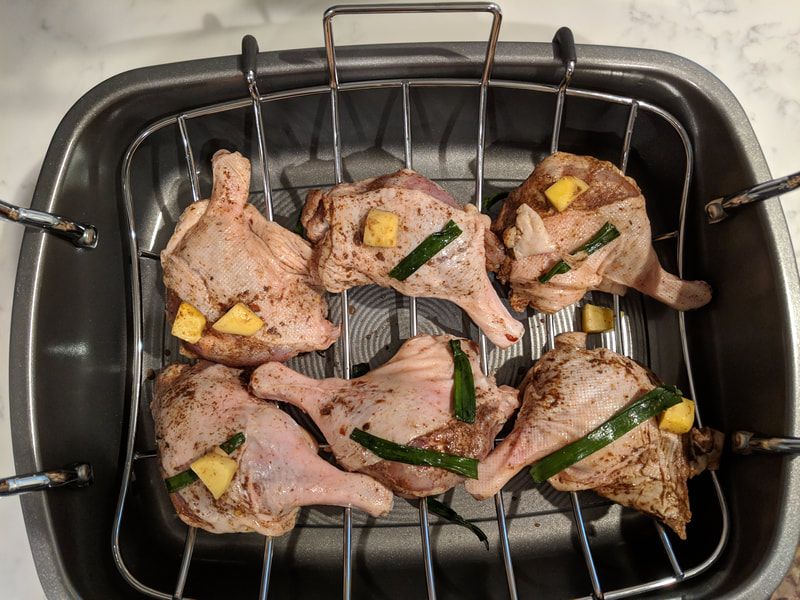
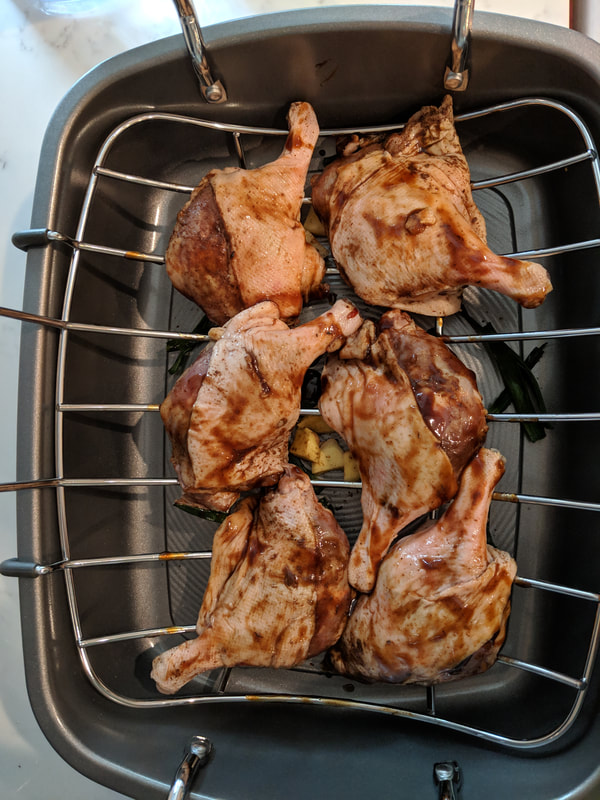
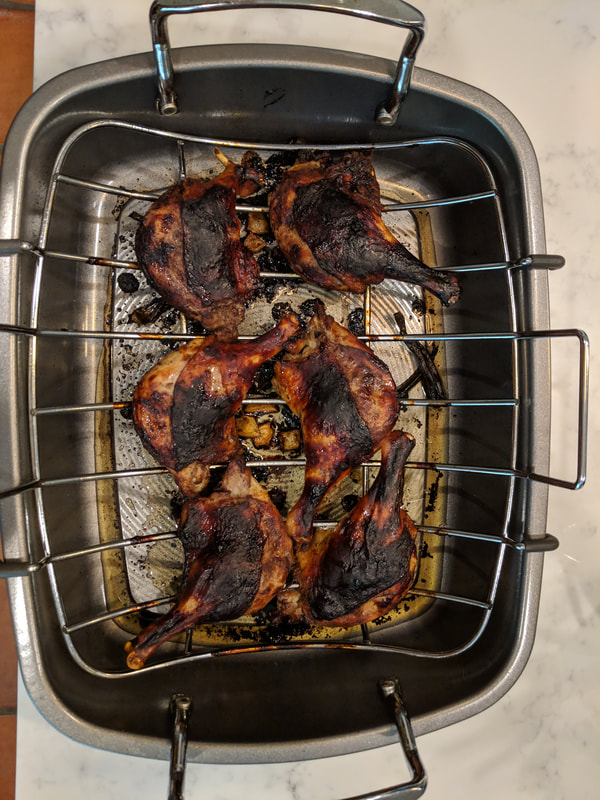
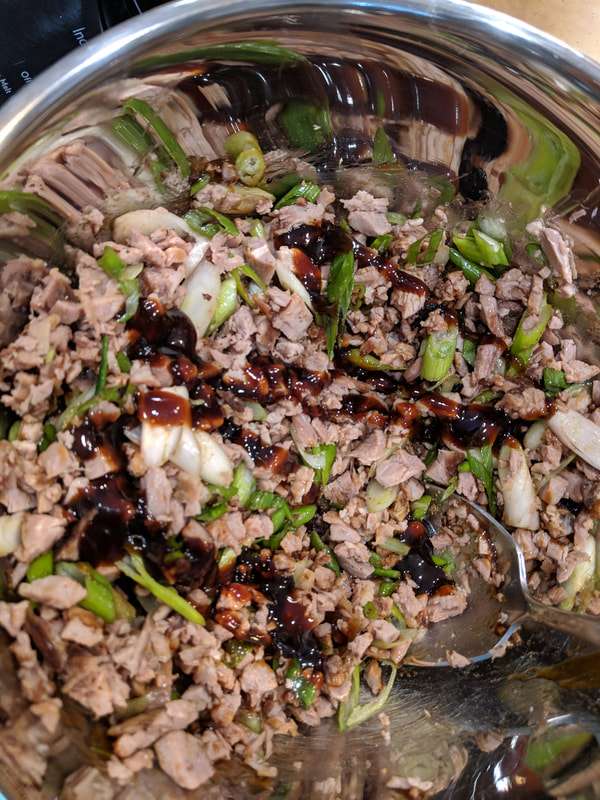
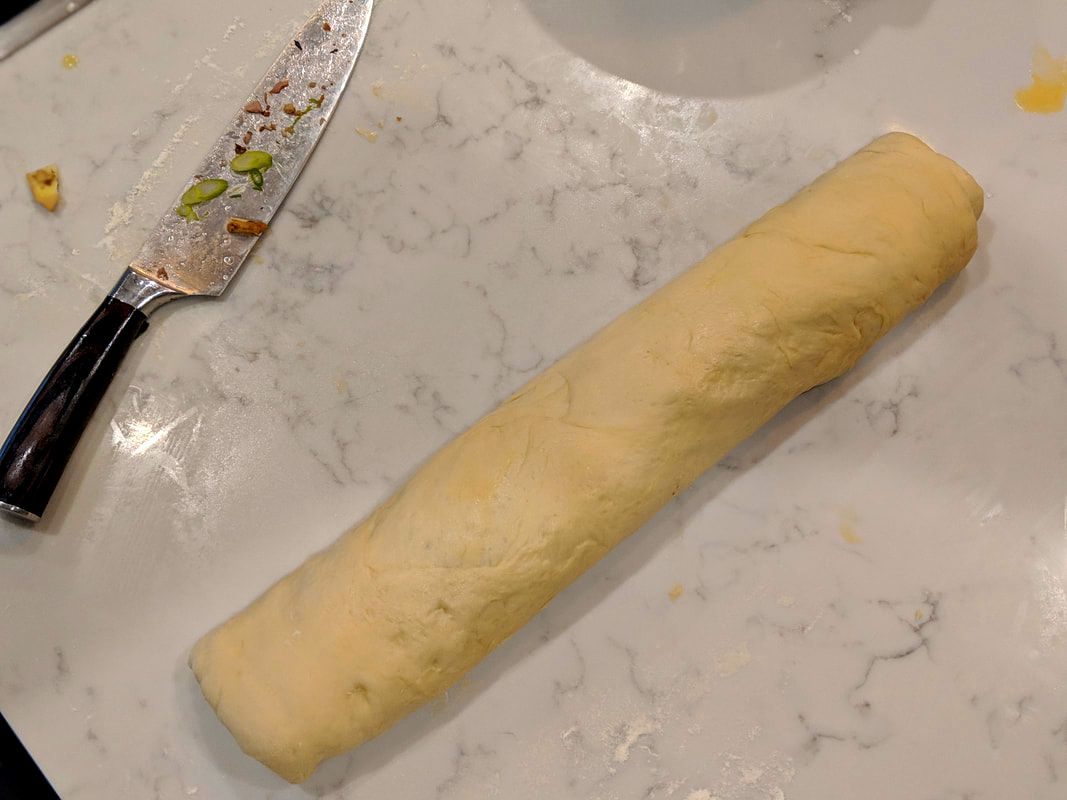
Time to Fill That LoafWith a pretty good outcome on my very first babka, I felt more confident to make a showstopper loaf. Every time I make bread, I learn for the next time. It’s very rewarding in that way. Even though, I had decided that my #showstopper loaf would be a savory one (I was still deciding on the flavors), I learned from the babka to be patient on the proofing! I rewatched the GBBO episode to get ideas for how to shape a loaf and decided I wanted to shape the loaf into a ring. As for the flavors, I was STILL stuck. Normally, my cheese-loving self would opt for a cheese filled loaf...because cheese. But I really wanted to do something different...stretch my abilities to work strong, good flavors. But what flavors?? Husband to the rescue! He suggested that I dig into my Chinese roots and infuse some of those flavors into the filled loaf. Ok. Good advice, husband! What flavors do I want to infuse? Of course the obvious culprits ran through my brain: soy, ginger, and scallions. But I wanted to get some protein into my loaf. Infusing just some herbs or light flavors wasn’t gonna cut it for a showstopper. Then, DING (sound of lightbulb in brain) duck. Duck is one of my favorite proteins. Why not use it, I asked myself...I had no good reason not to. Peking duck is one of my favorite things in life and it was always a special treat to get to eat it. I grew up in a small town in Iowa...not exactly a bustling hub for Chinese fare. I would only get duck when I traveled to San Francisco or Houston… or when family friends would visit from Omaha or Des Moines (both cities were a couple of hours drive from my town). Peking duck is juicy, has a delicious sauce and is covered with crispy skin. Therefore for this challenge, I must roast my own duck. I really didn’t want to roast a WHOLE ENTIRE duck because while I am ambitious, I am not crazy. Also, I don’t have one of the home rotisserie things or that roaster thing that can keep a half dozen ducks hanging and slow roasting (what is that thing called anyway?). After reading through a couple of recipes and speaking to my own personal chef google, Thomas (a professional chef and fisherman who makes bomb ass poke and friend), I came up with a game plan. I would get as close as I could to a Peking duck, but it would fall somewhere between a Chinese roast duck and a Peking duck. The plan was to get duck breasts and thighs and roast them with a recipe that I found in this “Chinese” cookbook- that, ironically enough, I got from Ikea. Who knew? Of course there were a couple of modifications I had to make to this recipe. I don’t know how or where I would hang a duck overnight to dry out. I don’t think my husband would be stoked about hanging duck carcasses in our living room or luring Texas wildlife to our back patio if hung outside. Cue flashbacks of my mom making lap chuerng, or Chinese bacon, by curing strips of pork belly by hanging them on dowels in our garage or out on our deck in the winter (neighborhood dogs really liked our house). I was the weird Chinese kid with meat hanging in our garage, but damn it if it wasn’t so tasty. Fun fact: my mom still makes it to this day. I decided that my duck breasts will have to settle for drying out for few hours in a roasting pan. Because I had to roast the duck and bake the bread AND get to an audition...my #actorlife and baking day would have to start early and go all day. First, I needed to get the duck marinated. I needed to baste the duck in a solution of vinegar and honey. Guess what...another edition of The Pantry Caper almost happened, but my friend the golden syrup was there to save the day. I was like 120% sure that I had honey in my pantry...didn’t I buy some organic something-or-other at the store...but it wasn’t there. Yay! for the golden syrup. I basted the duck, rubbed hoisin sauce into the skin, chopped up some ginger and scallions, and threw them into a vacuum sealed bag to get as much flavor as possible into the duck. Vacuum sealing to marinate always works for the contestants on Chopped, so why not me? Another fun fact: my chef friend, Thomas, had given me that food sealer as a gift. Doubling down on pro-DUCK-tivity,(you read what I did there? Punny)...I got a workout in as the ducks marinated. Before I went to my audition, I took the ducks out of the vacuum sealed bag and laid them out to “dry” on my roasting rack. Fast forward a couple of hours… I start my bread. I decided to use a challah recipe that I have been baking pretty frequently. I used strong bread flour and kneaded until my face was sweaty and my arms were tired. The “window pane” test was a success! A window pane test is when you take a small section of bread dough and stretch it while holding it up to a window to see if you can stretch it enough and see through it without breaking the dough. A successful window pane test lets the baker know that the gluten has been built up enough. As my bread went through its first proof, I got to roasting the duck. I added some Chinese five spice, soy, and rubbed a little more hoisin on the duck and popped it into the oven at about 300-325 for about an hour. As the duck and the bread are doing their thing… I chopped up some scallions and cilantro. I took the duck out and let it cool for awhile and then removed the skin to save as a topping on my loaf. I chopped the duck meat in small pieces and tossed it in some more hoisin, salt/pepper, sesame oil, and added in the scallions and cilantro. Mixed everything until it was well coated. Then there was nothing to do but wait for the bread to finish its first proof.
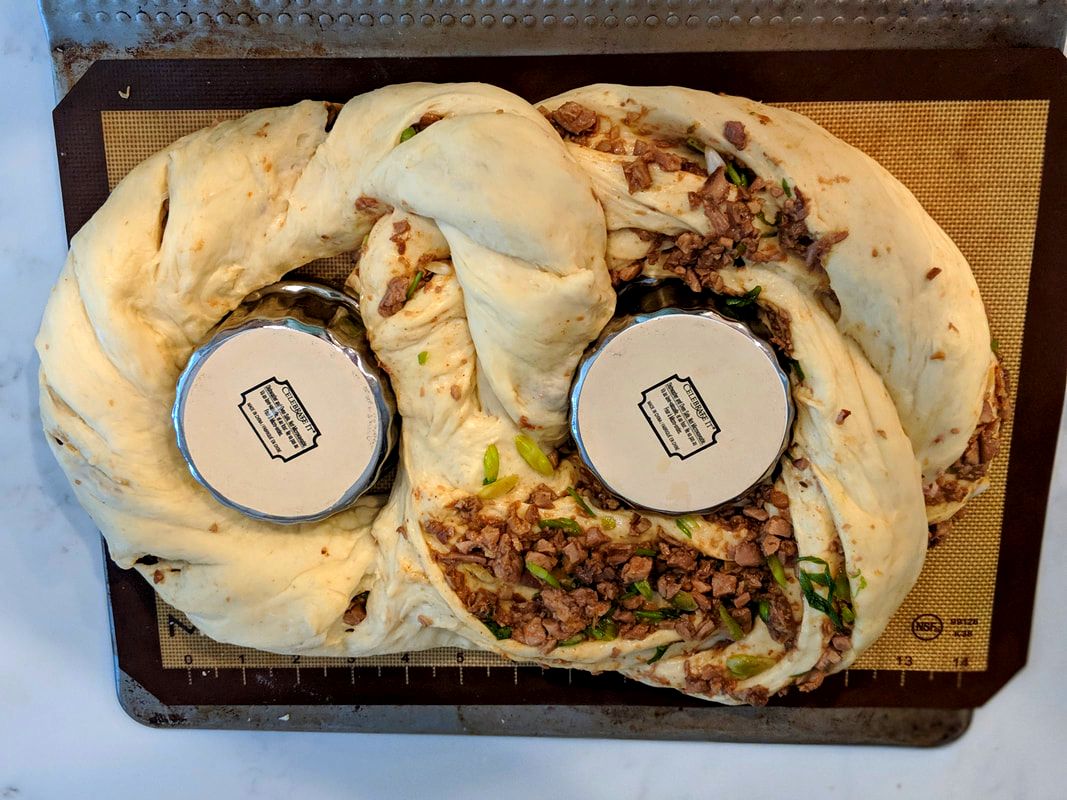
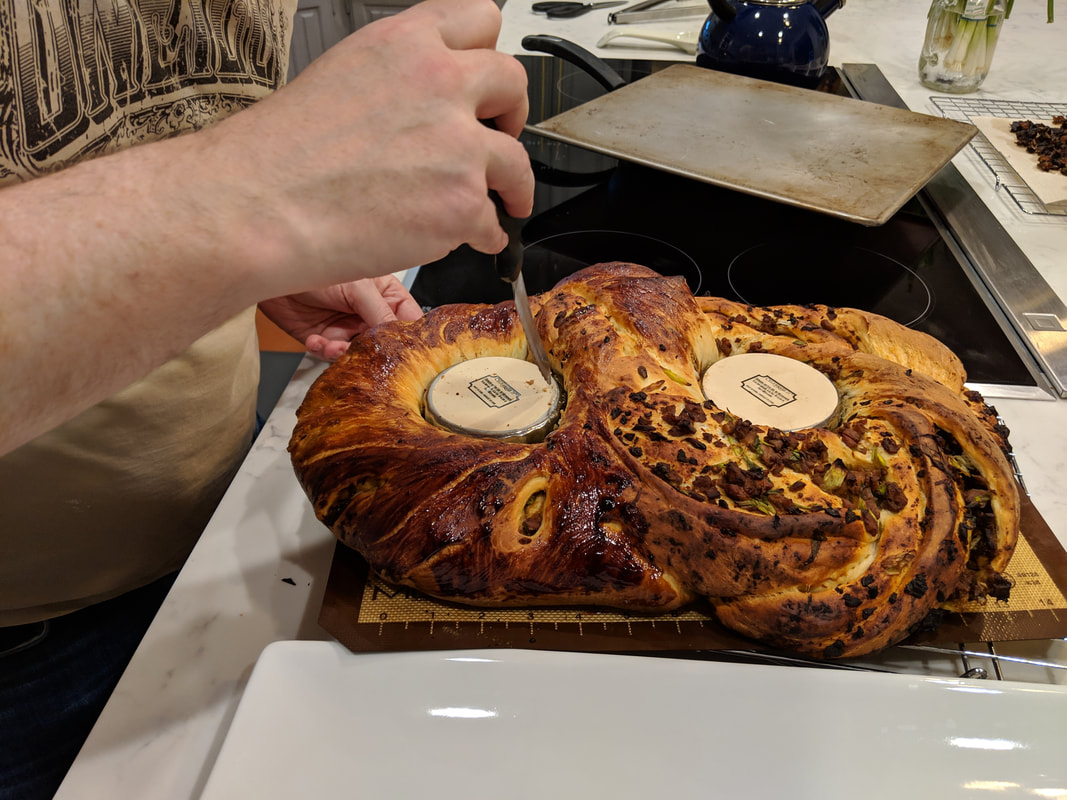
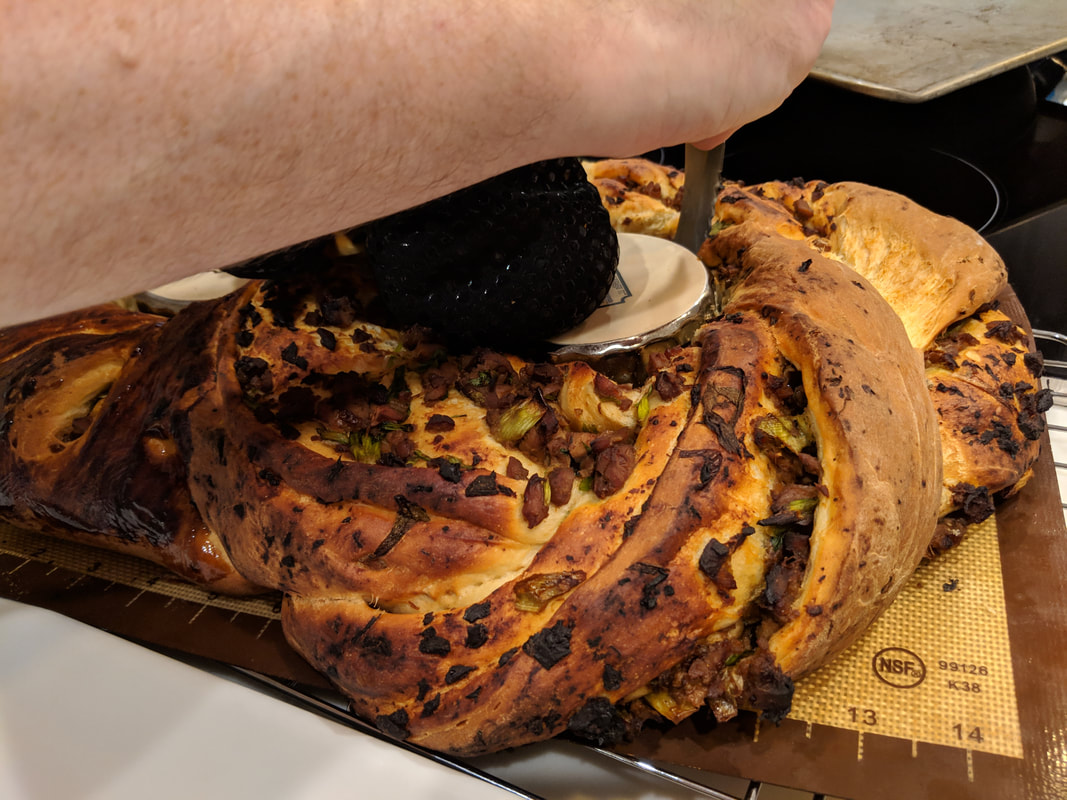
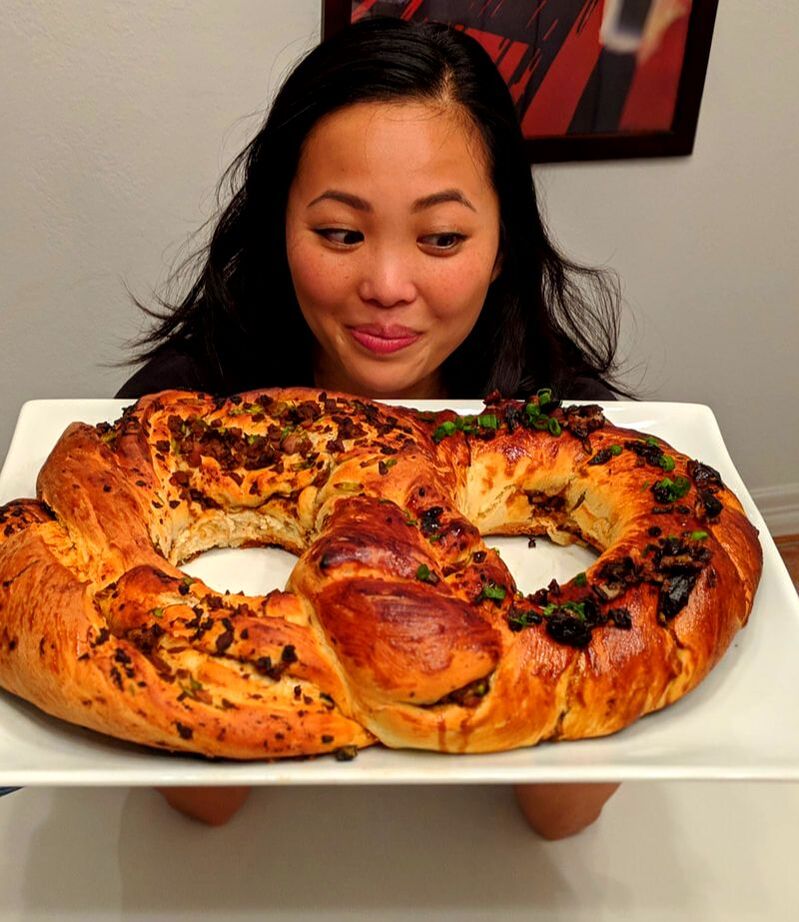
I brushed the top of the slashed half with hoisin sauce for a glaze and color. Since I was using the duck skin as a topping, I wanted it crispy. The duck skin had been sitting out in a bowl for a bit and had become soggy. I threw it in a pan with some of the duck drippings (for extra flavor) to sear in an effort to add some crispiness. My loaves had been resting no more than a couple of minutes, when I realized that I had nothing to hold them in their ring shape. Thank the baking gods that I rewatched the bread week episode recently, because I noted how everyone was using different apparatuses to keep the shape of their dough. I went to my baking supply cupboard and pulled out a couple of larger ramekins, sprayed them with some oil, and fit them into the bread holes. I had to wiggle them around and make sure they weren’t pinching any of the dough underneath. Whew! I felt like I dodged a potential crisis. My loaves doubled in size pretty quickly (took only an hour or so) and I was afraid that it wouldn’t be able to fit into the oven. I topped the slashed loaf with the crisped up duck skin and then popped my whole showstopper loaf, ramekins and all, into the oven for about xxxx. I knew that I would have to rely on my past bread making experiences to make sure that the loaf was completely baked. Raw dough was my worst fear. I can imagine the disapproving look on Paul Holllywod’s face. *SHUDDER* Since I had hoisin glaze on top of one of my loaves, I knew that the dark color could deceive me about the loaf being baked through. I am going to be totally honest with you, I don’t know how I knew it was done... but I had a gut feeling. I pulled it out of the oven and let it cool for awhile. I tried to check the bottom for the “tap” test, but the loaf was heavy and forking hot...but from what I could tell it seemed baked through. The next part was extricating the ramekins from the bread holes. Since it was a last minute add, I realized that I should have oiled it better or lined them with parchment. My husband and I had to play a game of bread operation for a minute. Some of the dough did get stuck under the ramekin, but it wasn’t anything that couldn’t be saved with a little tuck underneath. Yes, that is me squealing in the video... I was afraid it was going to fall on the floor. Finally, my bread could be transferred to a plate... with the effort of two people. I told you this thing was heavy and HUGE! All in all, I am super pleased with myself. I feel like the flavors come through and the duck was nice and moist. The bread has a good structure and is baked all the way through! It bounces back when pushed against. The bread had good flavor as well. A couple of shortcomings: the not so crispy duck skin and my couronne shape. I realized after I had completed this bake how my twist went wrong. I was very confused reading how to twist the loaf into the shape...but a few hours later it was like my brain had been working it out and I think I know how to do it. I have to try it out for my next loaf and I will get back to you if I am correct. I think I needed to twist in the opposite direction. I would be more than happy to make this again. Come up with more bread shaping designs. Improve on my crispy duck skin and who knows; maybe roast a WHOLE duck with the stand up rotisserie thing. Or try out some few fillings. Read: CHEESE. Perhaps, I’ll be bringing a showstopper filled loaf to a gathering near you. Read more about my eating adventures in the next blog. I’ll be practicing for #dessertweek. Up next: self saucing puddings. How saucy. Until then: Happy Baking, Happy Eating, Happy Repeating.
3 Comments
|
DanaAll the juicy facts will be right here. Archives
May 2022
|

 RSS Feed
