|
I feel so accomplished in FINALLY finishing my first biscuit showstopper. I am not going to lie, I was feeling a lot of resistance to doing this bake… even though I practiced this biscuit bake, which is not always the case. The reason I was feeling a lot of resistance to this, is that I am just not that kind of baker. You’ve heard me write about it before but I am not that strong at decorating in detail. And I think contributed to the anxiety of this showstopper. But the good news (!) is that I feel like I learned a lot by doing this bake. And I learned a lot about myself as a baker. Things I learned:

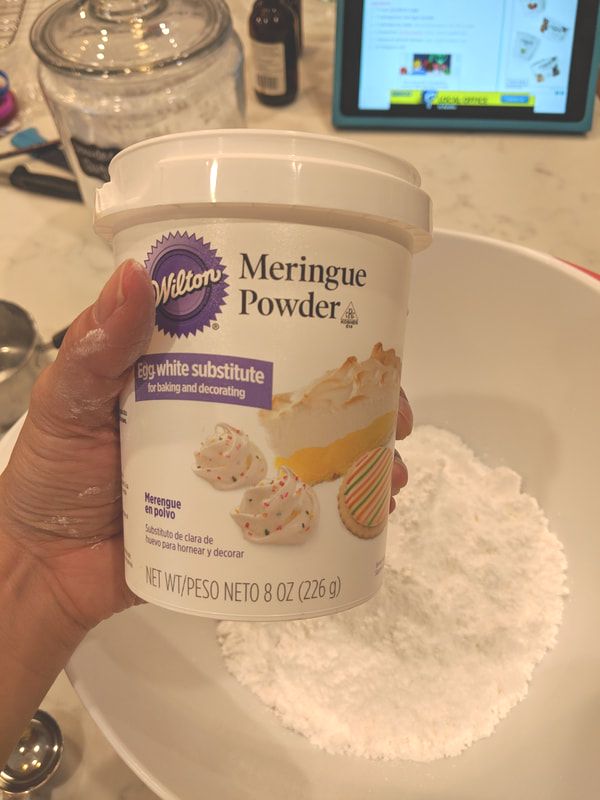
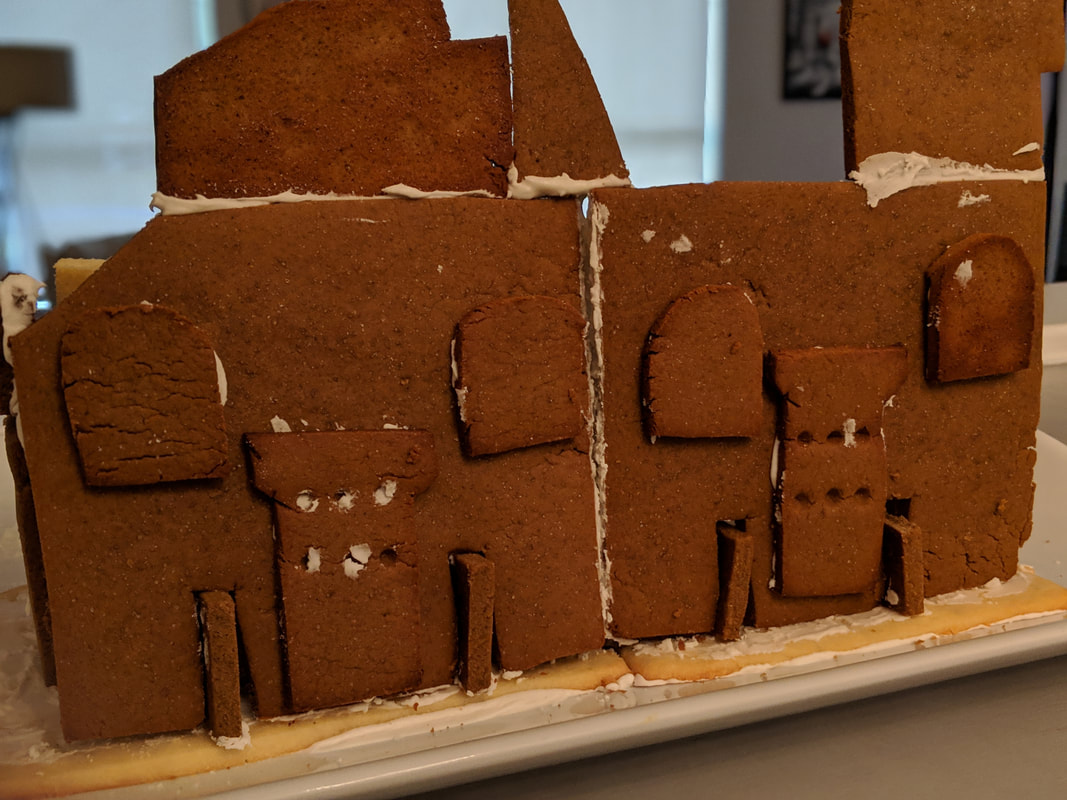
I knew that my constructing skills were going to be pretty rudimentary, so I decided to take some pressure off of myself and do A SECTION of Hogwarts, instead of trying to do a whole silhouette. I even thought at one point I would do the same section on the front and back so you would see it either way… but I realized that I wouldn’t have enough biscuit dough to do that. And honestly, I didn’t want to make more (and I didn't have the time). I decided that I would fake some relief work and cut out windows and such and paste them on the sides of the sculpture so it would add a little extra somethin-somethin to it. Confused by the syntax of "relief work?" This is what I mean: Relief is a sculptural technique where the sculpted elements remain attached to a solid background of the same material. The term relief is from the Latin verb relevo, to raise. To create asculpture in relief is to give the impression that the sculpted material has been raised above the background plane. (Brought to you by: Wikipedia). Can I just tell you how cool meringue powder is?! Totally awesome to use as a edible and delicious (and highly sugared) glue. Helping my “relief work” to stay in place.
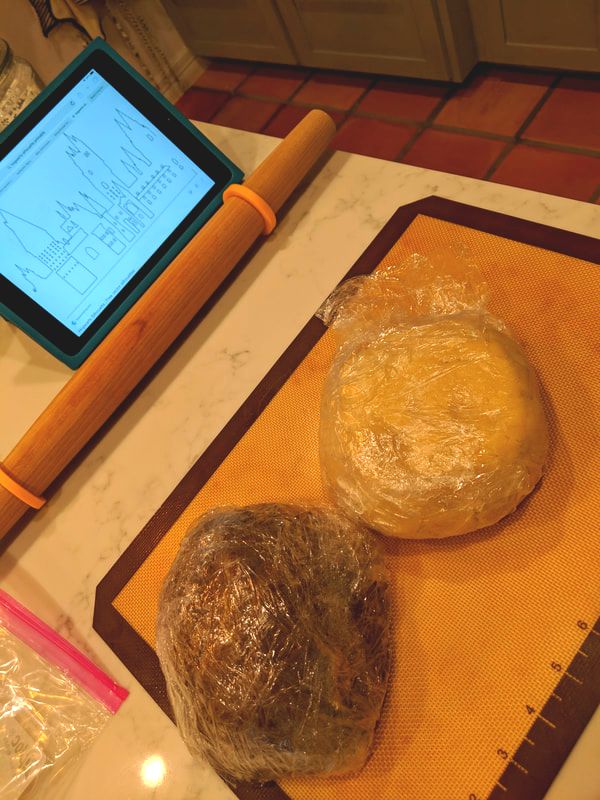
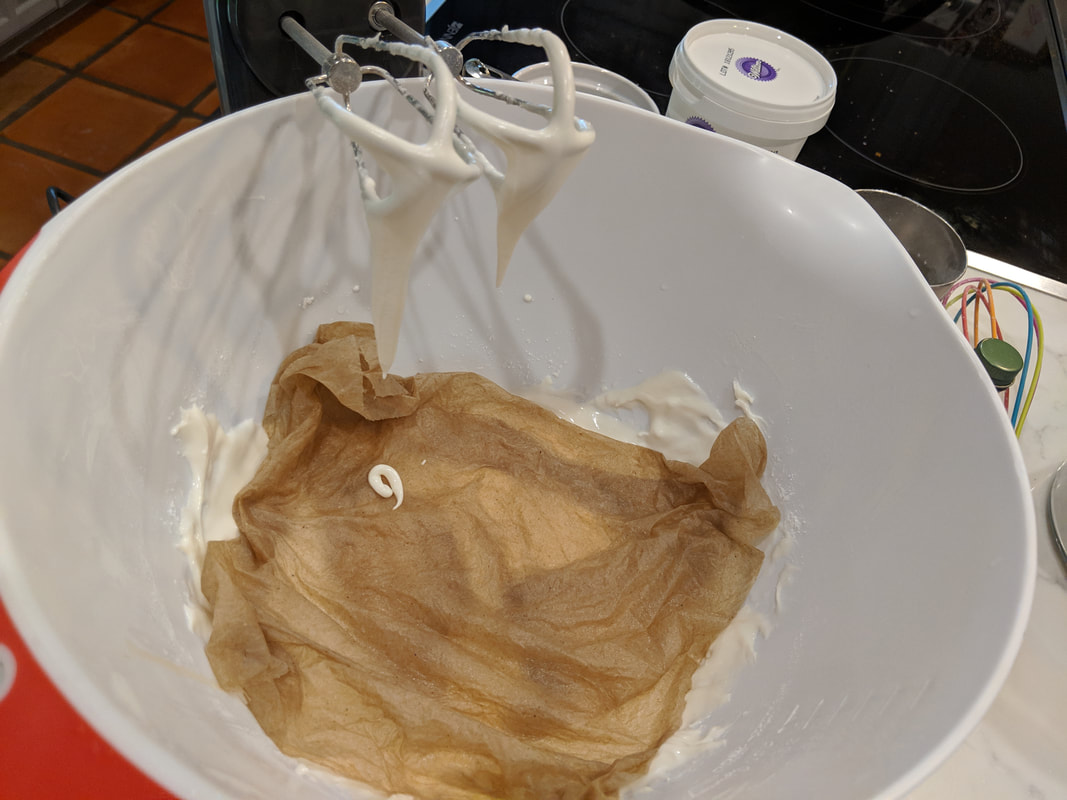
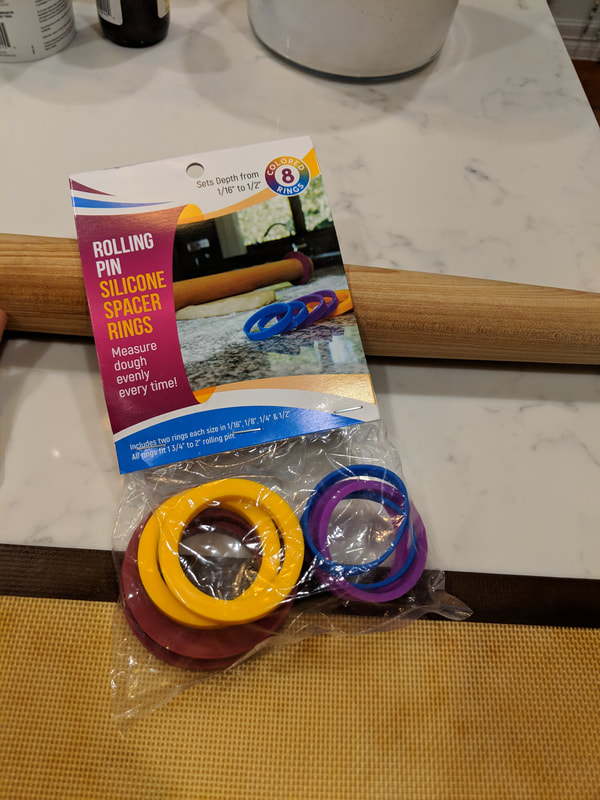
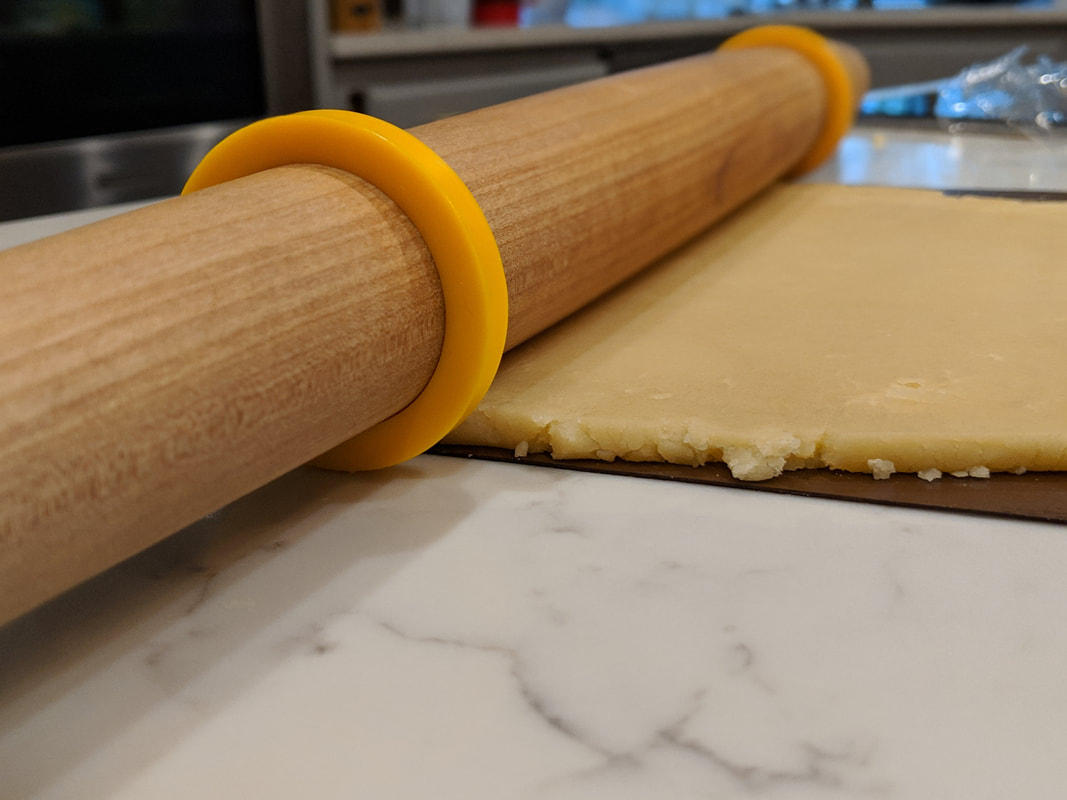
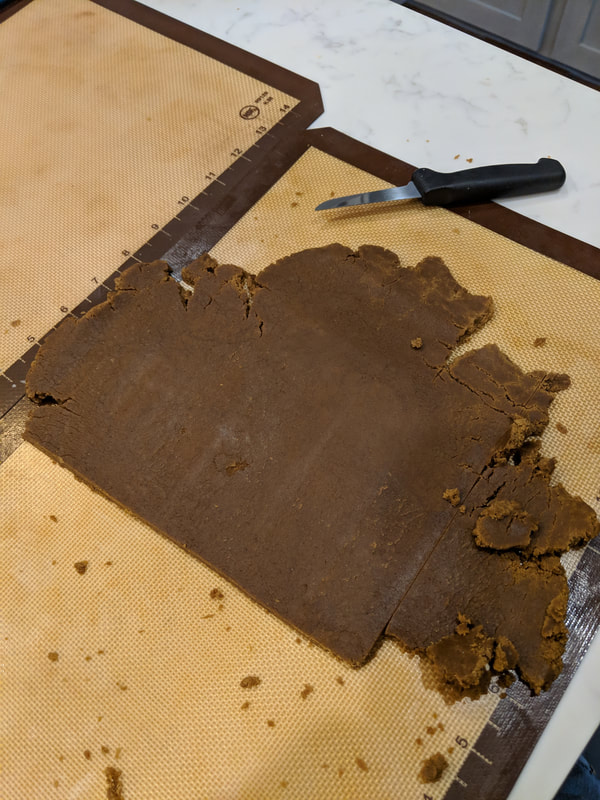
You can find the recipe I used for the royal icing below as well. I opted for a recipe that did NOT use corn syrup because... gross. And I did not have any corn syrup in my pantry (I definitely did not have time for another Pantry Caper). As I was doing research about royal icing, because that is what one does when embarking on making a 3D sculpture scene, I learned a trick to keep royal icing from drying out: place a damp paper towel on top of the icing when not in use and (!) add coloring before thinning out to decorate so that you don’t over-thin the icing. Love learning #bakehacks. I kept my royal icing pretty thick as I was using it to paste together biscuits. I had enough left over for any decorating that I would need to do. In theory I would have then added a tablespoon of water at a time to thin the royal icing out, but... I didn’t need it for further decorating (keep reading). But I stored the rest of the icing in a mason jar so I can use it on some cookies (that I WILL NOT be making a sculpture out of) later. Not only did I get to learn some #bakehacks but I also got to use my new baking toys: my rolling spacers! These are the ones that I got and I think they worked great! I felt that my biscuit thickness came out really even… I am super excited to use it while rolling pastry. More excuses to bake. #bakerproblems
You can see in my video documenting my construction, the moments when I was trying to figure it out on the fly. There are a lot of those moments. Also, see if you can pinpoint the actual moment when I just decided to say "good enough" to figuring out what to do with the inside of the structure. If you don't blink you can see when I pop a little biscuit in my mouth too. :)
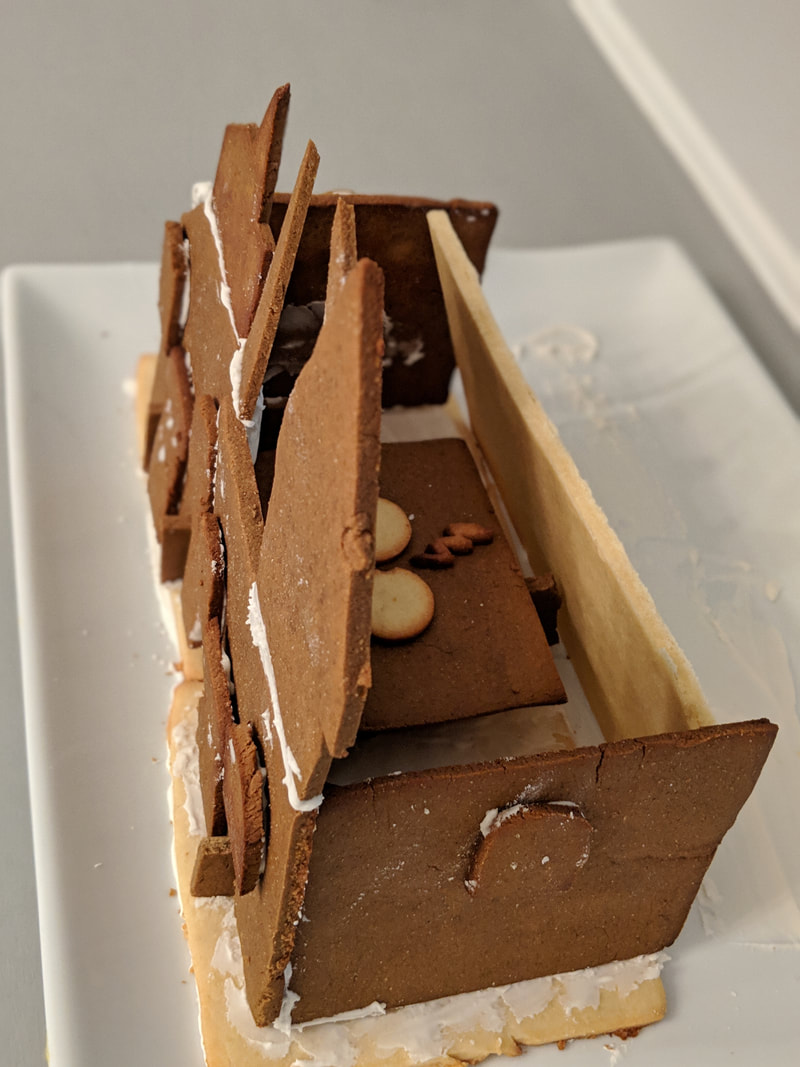
Confession time. By the time I was done with constructing it… I honestly was like, “I’m good” and I didn’t even bother with making cream cheese frosting to do some decorations. I had a notion to make it Hogwarts in winter because who doesn’t love Hogwarts in winter?! Instead, the end product is a little more like a vague representation of a castle made out of edible things. To paraphrase a classic movie: "It's a little like a Monet...looks good from afar, but up close it's a bit of a mess. #clueless. BUT I AM STILL PROUD. Remember all the anxiety I had about doing this bake. Well, I did it! Do I wish that I had the follow through to make it as pretty as it could be? A little. Do I feel bad about it? Not really. I know that I have grown as a baker and I know that I don’t ever want to do a 3D biscuit anything again… but I am excited to have the holidays roll around again so I can make awesome gingerbread cookies with treacle and the cream cheese frosting...mmmmm.  My Monet, according to Cher. In case you are wondering...the biscuit structure is STILL standing 24+ hours later. It didn’t collapse! No, I am still not going to eat it. But I do feel like making more shortbread biscuits (perhaps, blueberry shortbread?!) and those I WILL eat. Bread Week is next. Until then, Happy Baking. Happy Eating. Happy Repeating. RECIPE LINKS Gingerbread Biscuits:
https://thekitchenpaper.com/gingerbread-cookies-wont-spread/ 3D Biscuits https://www.bbc.com/food/recipes/3d_biscuits_29555 Royal Icing https://www.designeatrepeat.com/royal-icing-for-sugar-cookies/
2 Comments
|
DanaAll the juicy facts will be right here. Archives
May 2022
|


 RSS Feed
