|
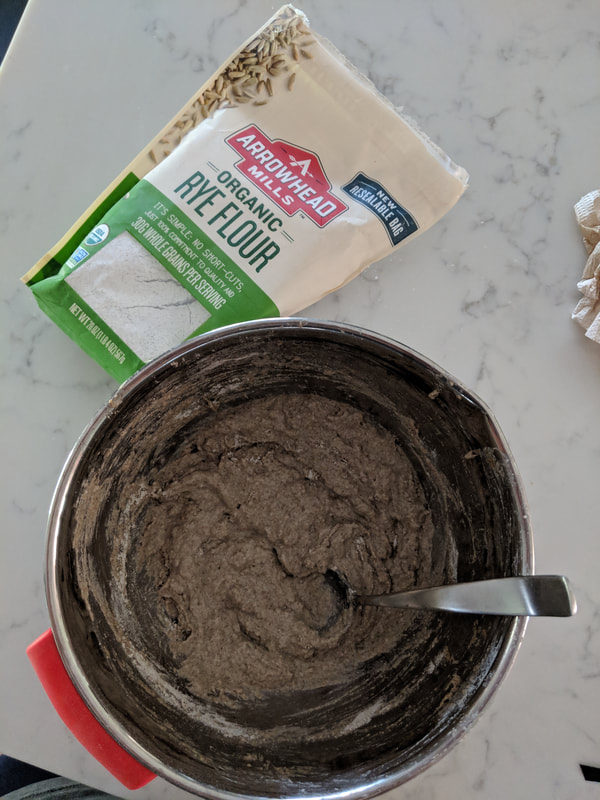
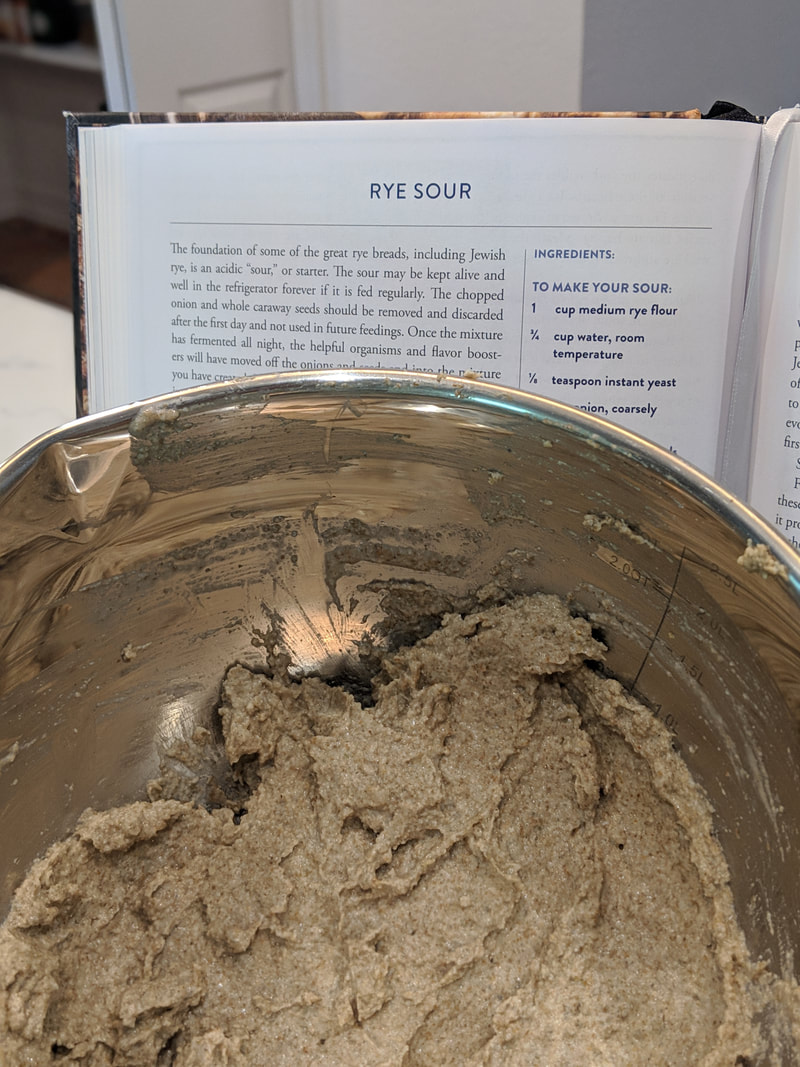
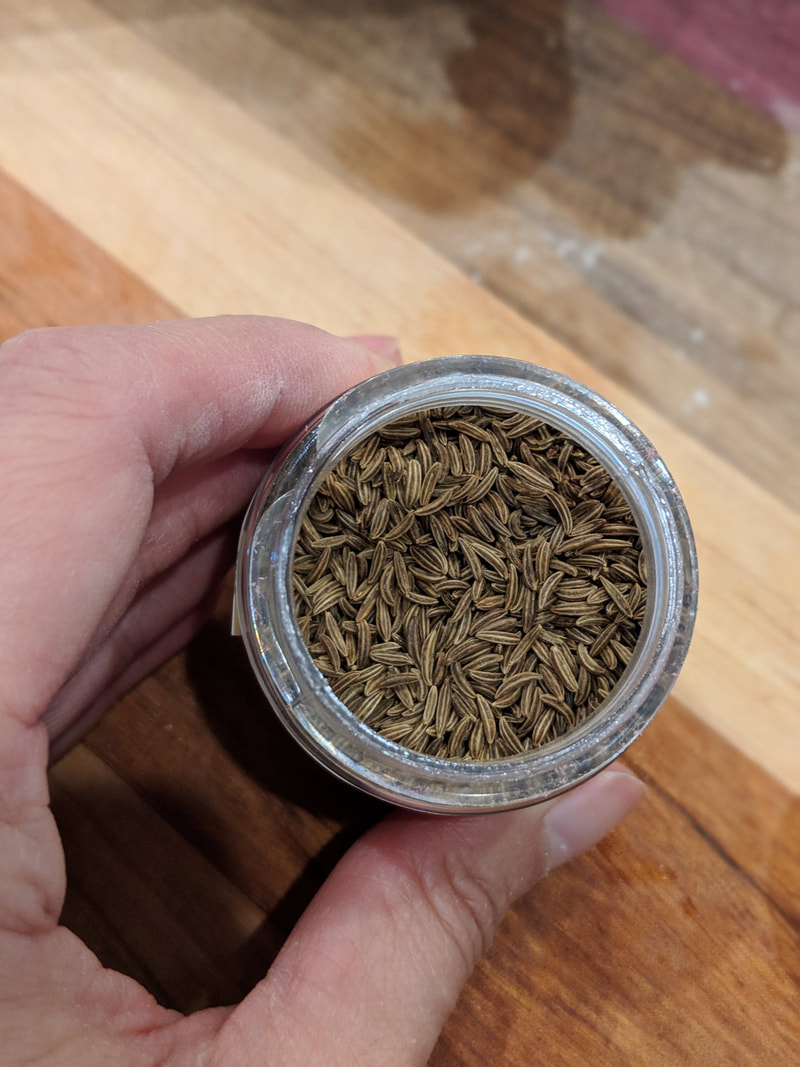
Ok. I finally got my baking act together and got on the #rye train. I have been super excited for #breadweek, which I found weird, because if you had asked me 4 years ago — There would be no way that I would have said “oh, I’m excited to make bread.” Me, a breadmaker?! Yeah, right. There was NO WAY I would bake bread at home. It seemed like it was too finicky. Too time consuming. Too little reward. In fact, on my wedding registry, I asked for a bread machine and some generous person got one for us (and by that I mean me). So, I began use the machine to make bread. It was the epitome of “set it and forget it.” You press a button and walk away. Now, I realize how young and stupid I was. Having your house smell like freshly baked bread every week is AMAZING! I am certainly no Paul Hollywood...yet. But I am working on it. It’s so great to create the dough out of a few simple ingredients then knead it and feel it come together. I am getting the feel of how different bread doughs should feel. I am geeking out, I know. Rye is the issue at hand, however. Now, I have never made rye bread before. I started to consult my Crust and Paul Holllywood Bake bibles to figure what the heck is #ryebread. Rye is lower in gluten protein than in other types of flour (think: AP, Strong bread, Whole Wheat, etc.), which can make it tricky to work with since building up those protein strands during kneading is a very important component of baking bread. Rye seems to be always associated with caraway seeds… and I don’t know why… I tried to find out but didn’t have much luck. Just like a bread made with regular AP or strong bread flour (all the gluten), there are so many recipes out there to make delicious rye bread. I personally love rye bread to be the foundation for a pastrami or ham/cheese sandwich...but I digress. (Here's an article about RYE) Since I had never baked Rye bread before, I had to get some new additions in my pantry. You guessed it, rye flour! I also decided to bake a couple loaves of rye as practice, in order to get a feel for the dough and to know what to expect. The diligence you need to have as a baker, I-tell-ya! I opted for a couple of recipes out of Crusts: The Ultimate Baker’s Book. First, I made a rye sour. No, it’s not a cocktail, it’s a rye bread starter. Though I do love me a rye old fashioned….mmmm, with a side of ham/cheese on rye…(again I digress)
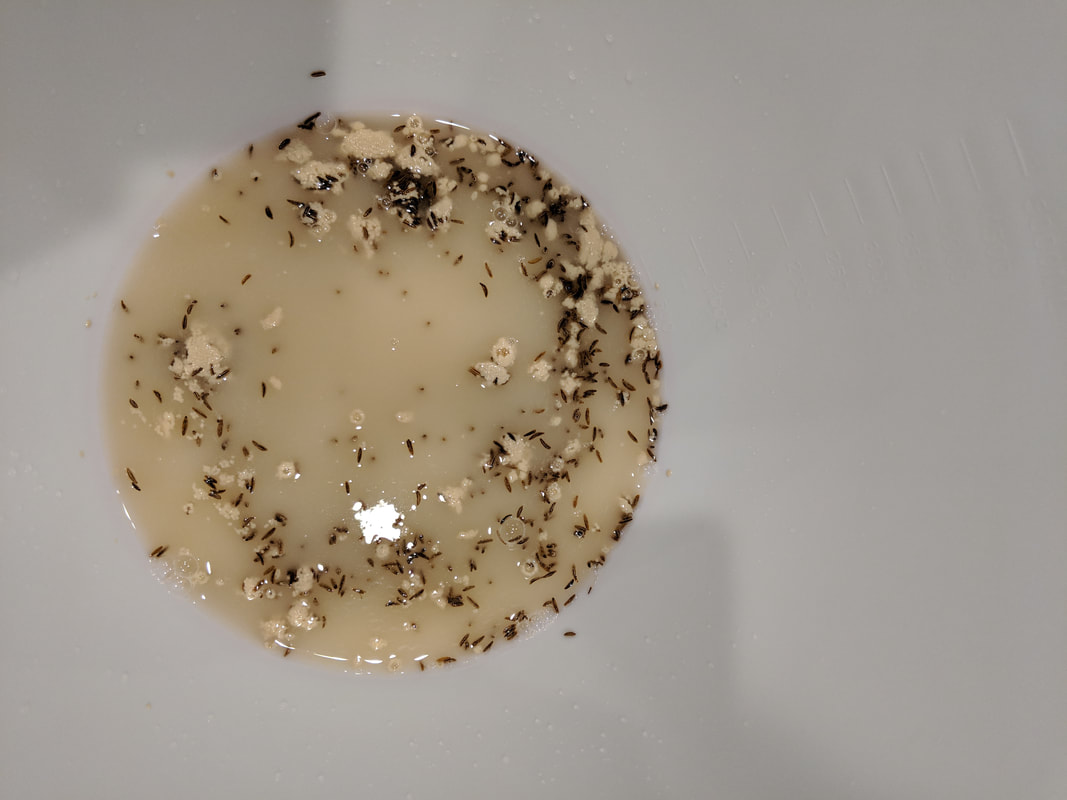
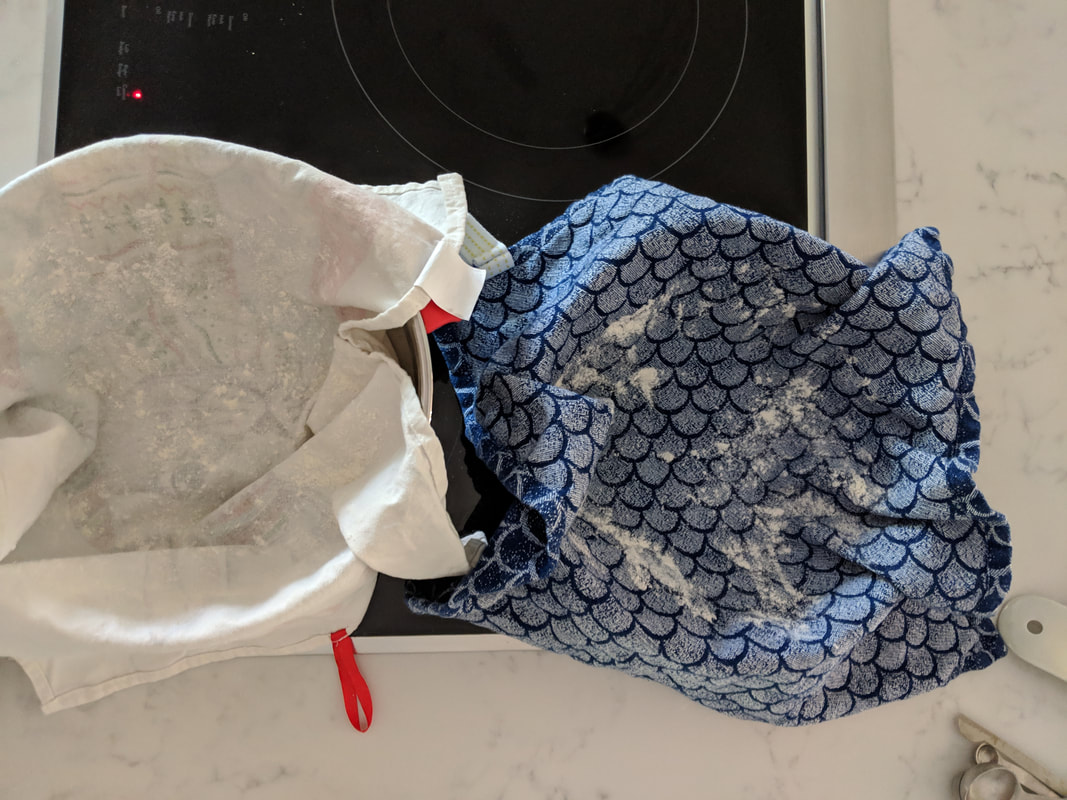
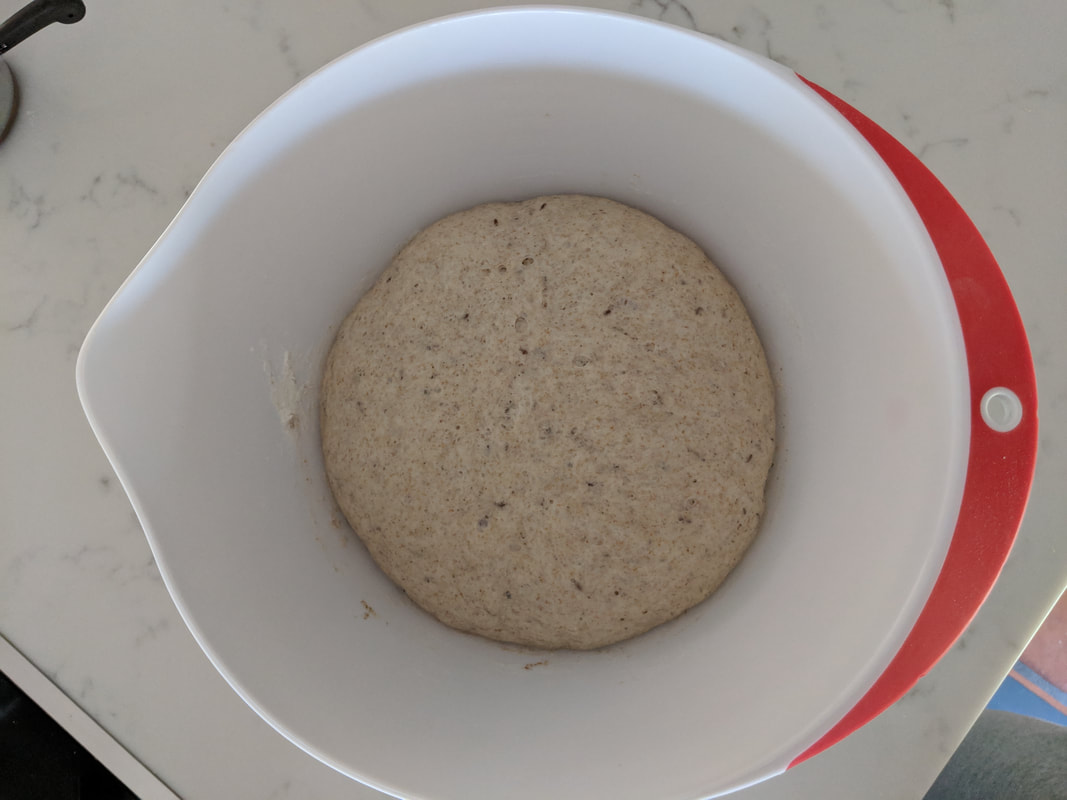
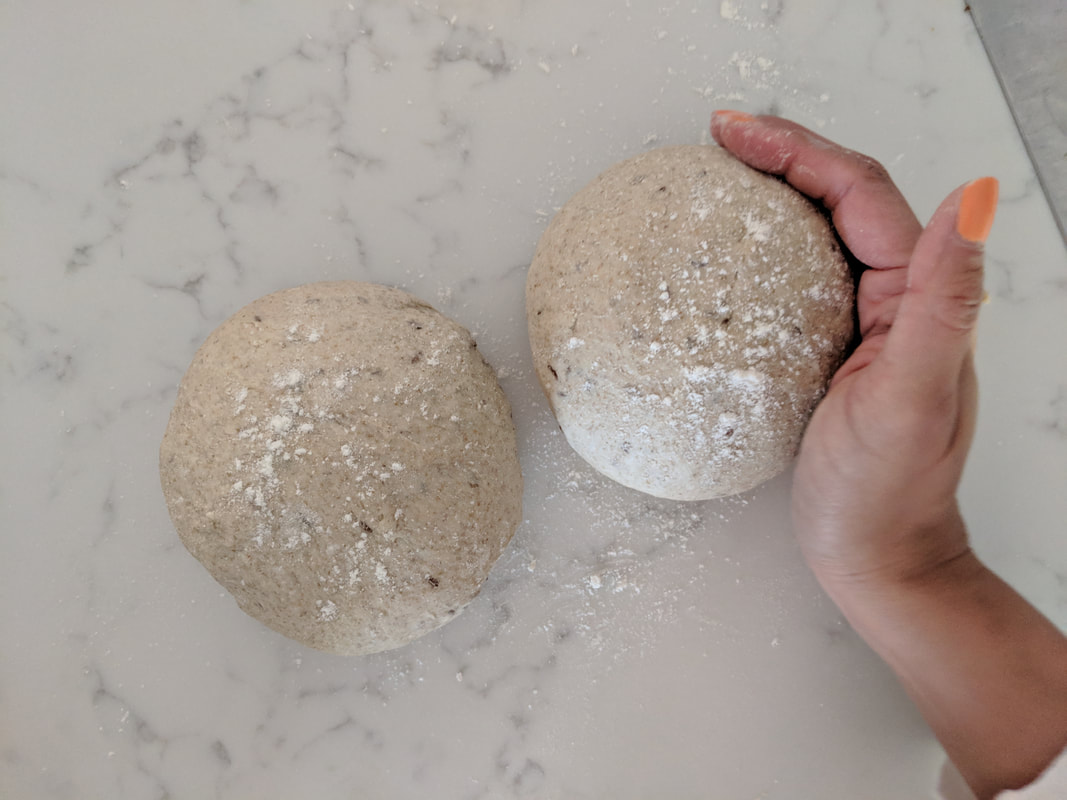
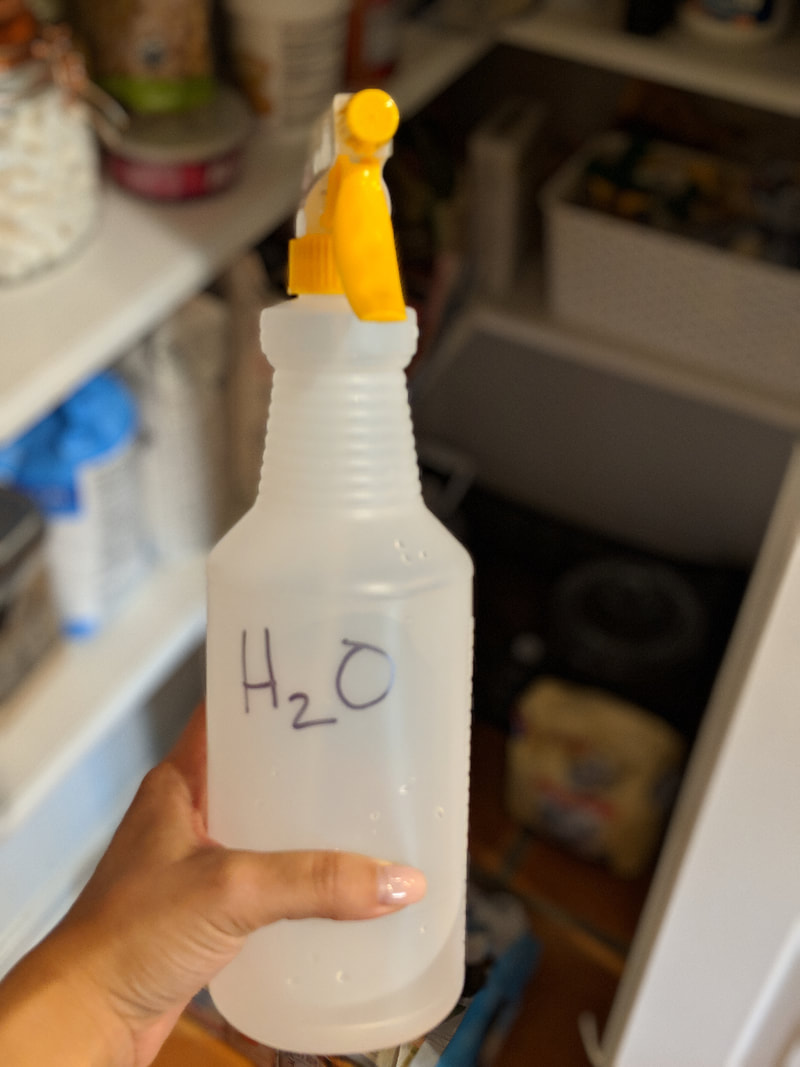
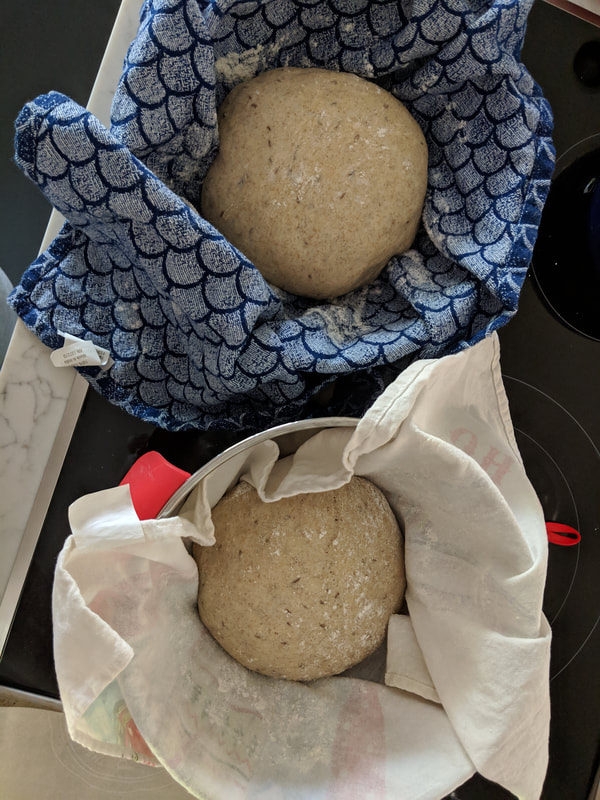
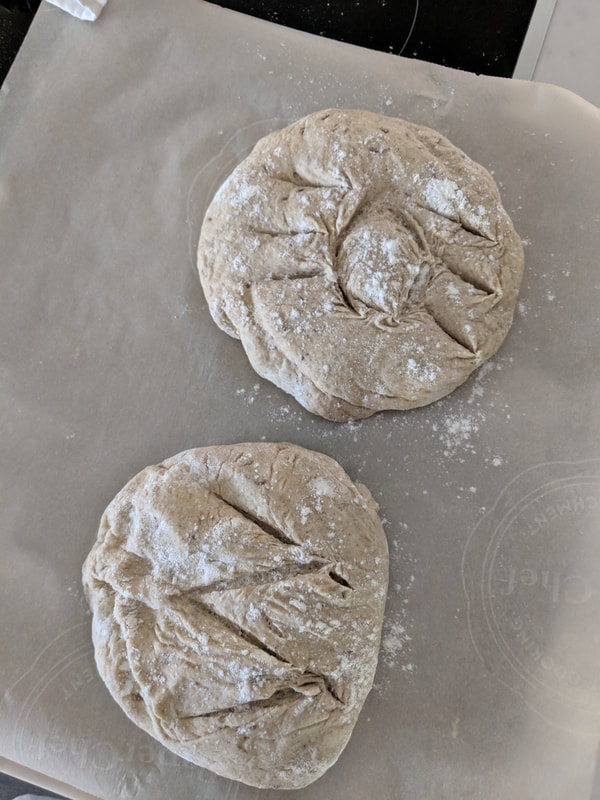
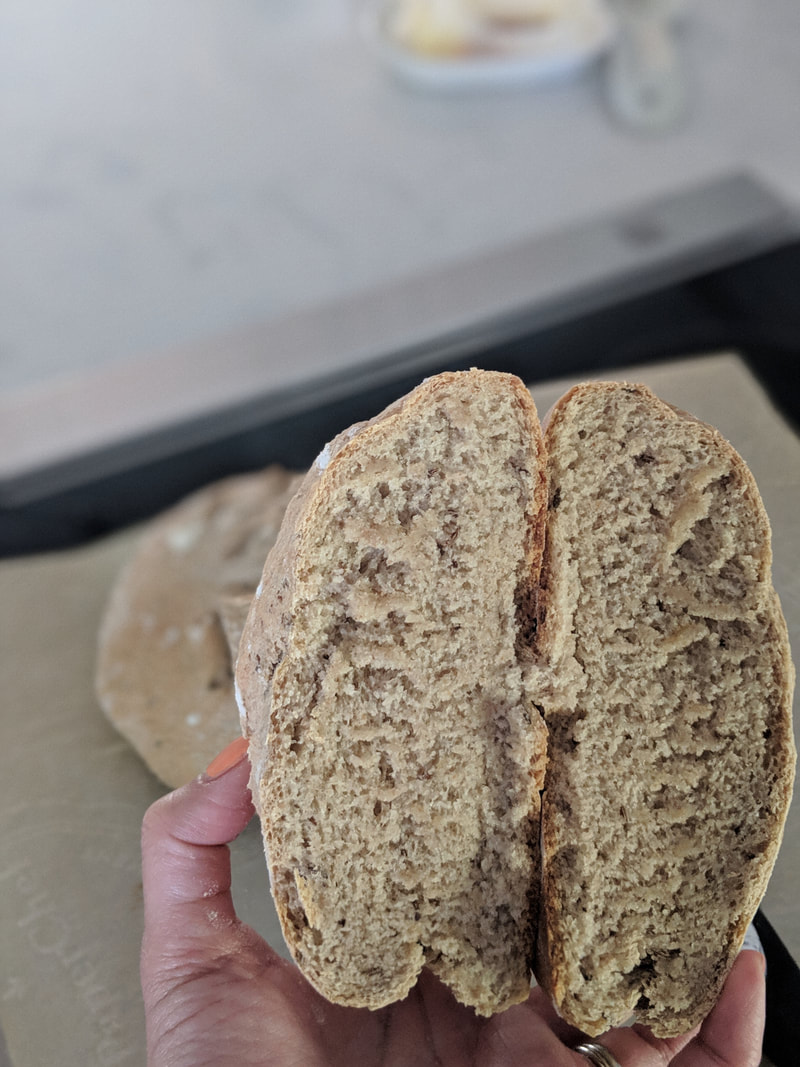
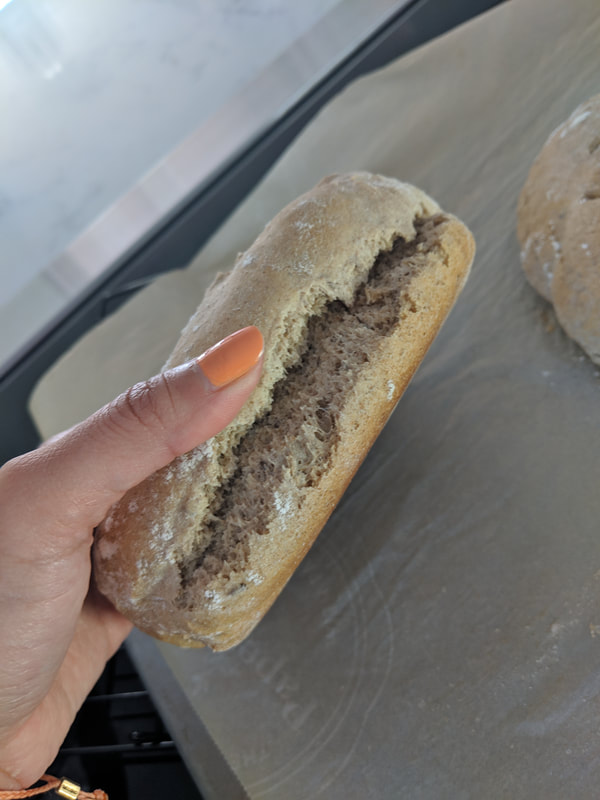
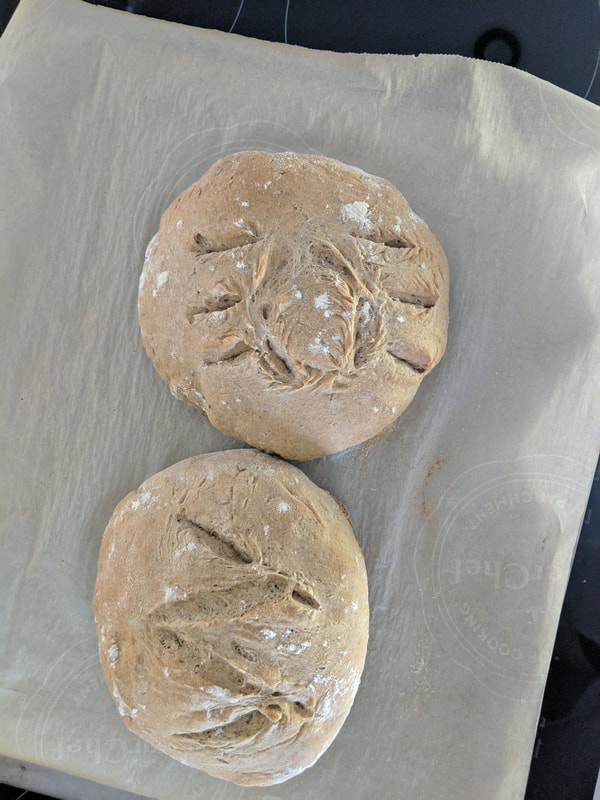
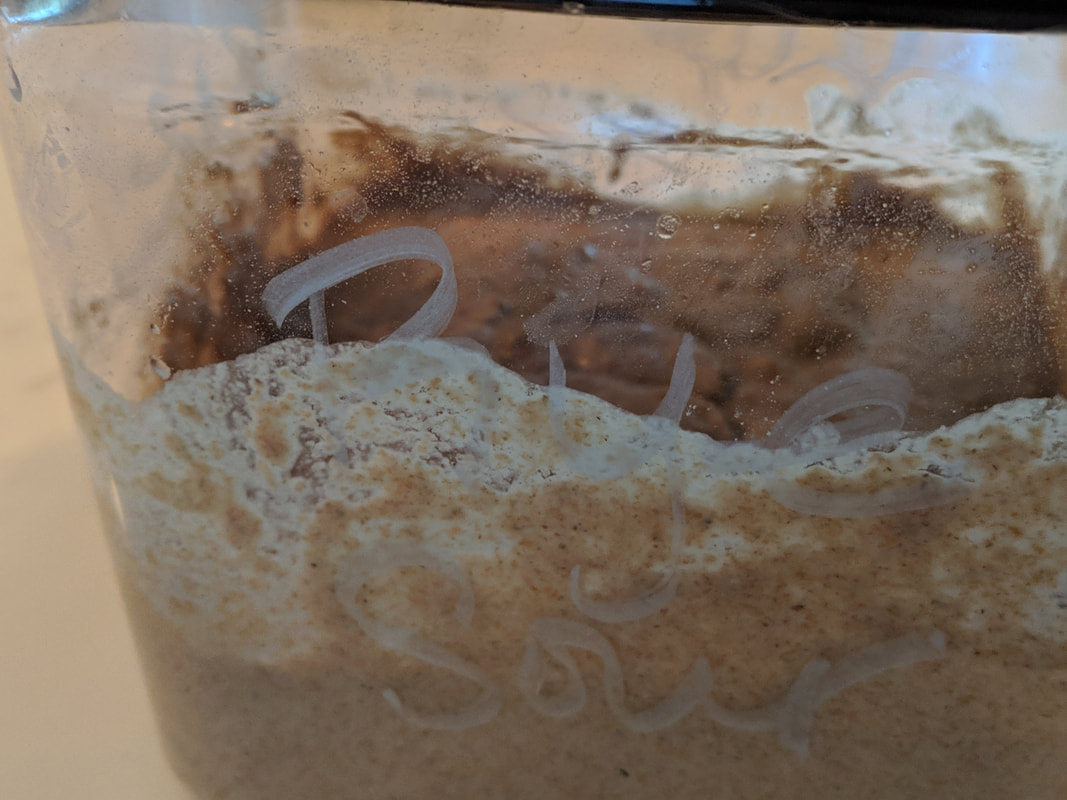
Since I had never baked Rye bread before, I had to get some new additions in my pantry. You guessed it, rye flour! I also decided to bake a couple loaves of rye as practice, in order to get a feel for the dough and to know what to expect. The diligence you need to have as a baker, I-tell-ya! I opted for a couple of recipes out of Crusts: The Ultimate Baker’s Book. First, I made a rye sour. No, it’s not a cocktail, it’s a rye starter. Though I do love me a rye old fashioned….mmmm, with a side of ham/cheese on rye…(again I digress) I have seen “sourdough starter” floating around for awhile - in my casual baking research and, of course, on GBBO. I didn’t feel that I bake enough bread to justify making a starter and mostly I have only heard of sourdough starters. How surprised I was was when I found out sourdough starter is not JUST sourdough bread… it’s used in a variety of different breads. *face palm* A starter helps produce a great leaven and build up yummy, delicious flavors in your bread. And in case you didn’t know, during the proofing stage is where the bread builds up its flavors. That’s why you don’t want to skimp on the proofing time. But a starter has had time to ferment and turn into bubbly goodness and will add a lot of flavor to your dough. Different flours will require different amounts of time to “start” the starter. But then, you can keep it like a little pet in your fridge, and “feed” it when necessary to have some on hand for all your bread baking. Now it was my turn to make a rye starter. This called for a medium white onion and caraway seeds wrapped in a cheesecloth and submerged into the mixture of flour, water, and yeast. Well, I guess you can add another episode of the "Pantry Caper" to the baking histories, because this baker did NOT have any cheesecloth in the house. But I am nothing if not a great bullshitter...*ahem*... improviser. I had a few reusable linen vegetable bags in my possession...so BADA-BING. I popped the white onion and caraway seeds in the bag and buried it in my mixture. (Side note: I now own actual cheesecloth). I left my little yeast pet to ferment covered overnight. Then, the next day I removed my ingenious linen bag and “fed” the hungry pet. I definitely could see the bubbling of the fermentation and smell the yeast, onion, and caraway seeds all mixed together. ONTO THE BREAD My practice Rye loaves. Again, I turned to my new friend, Crusts: The Ultimate Baker’s Book, for the recipe: Polish Light Rye. With my minimal knowledge of baking rye bread, I decided to follow the directions as best as I could, which is unusual because you know that is not always the case with me. To start this recipe, you activate the yeast in water with the rye flour, caraway seeds, and sugar. Ok, time for #bakefail number one: when trying out a recipe for the first time; make sure you read it correctly. Eye roll. After letting the yeast activate for about 25 minutes, I realized that I did not add the sugar to the mixture. At this point, I opted to the add the sugar to the mixture and let it activate for ANOTHER 20-25 minutes. Did I know that by doing this it would bring the demise of my first rye bread? No. Otherwise I wouldn’t have done it. But again, improvising. Now, after activating all the correct ingredients together. I realized this is basically the start of a sourdough starter. The recipe had not listed an option to “use a starter, if available,” so I didn’t use my little pet since I was being a good little baker and following all directions. But, I put that in my note to self for my actual #bakeoff bake to put my starter to good use.
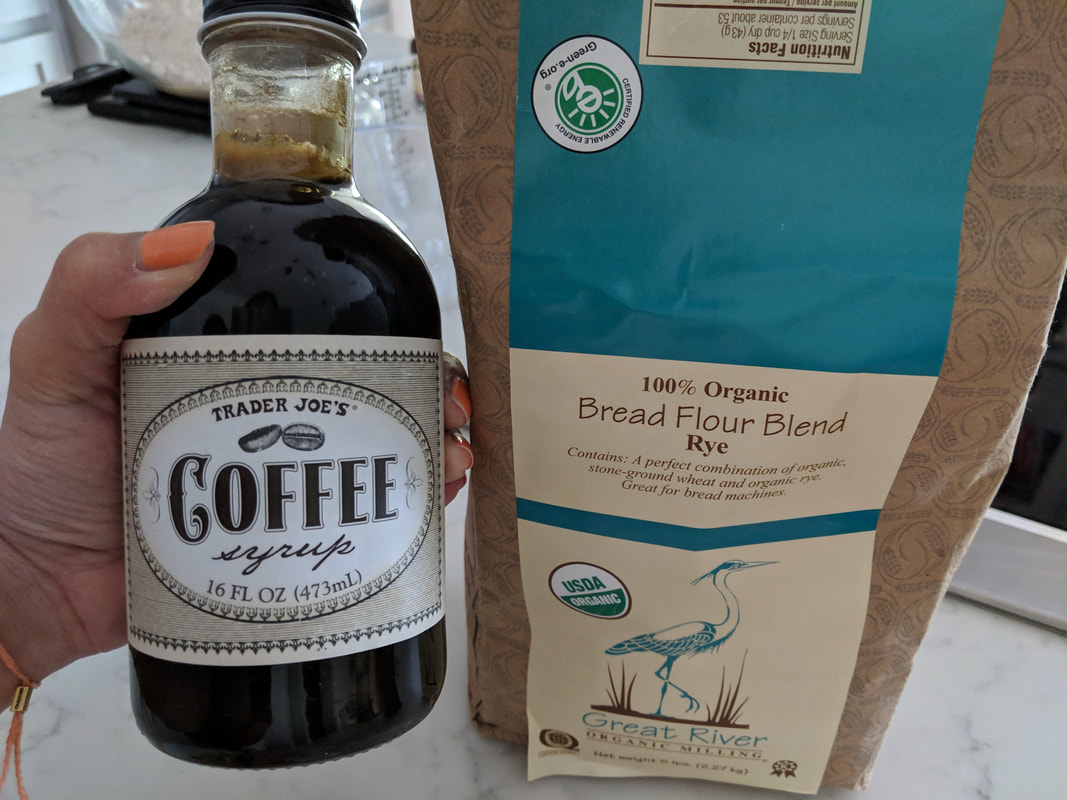
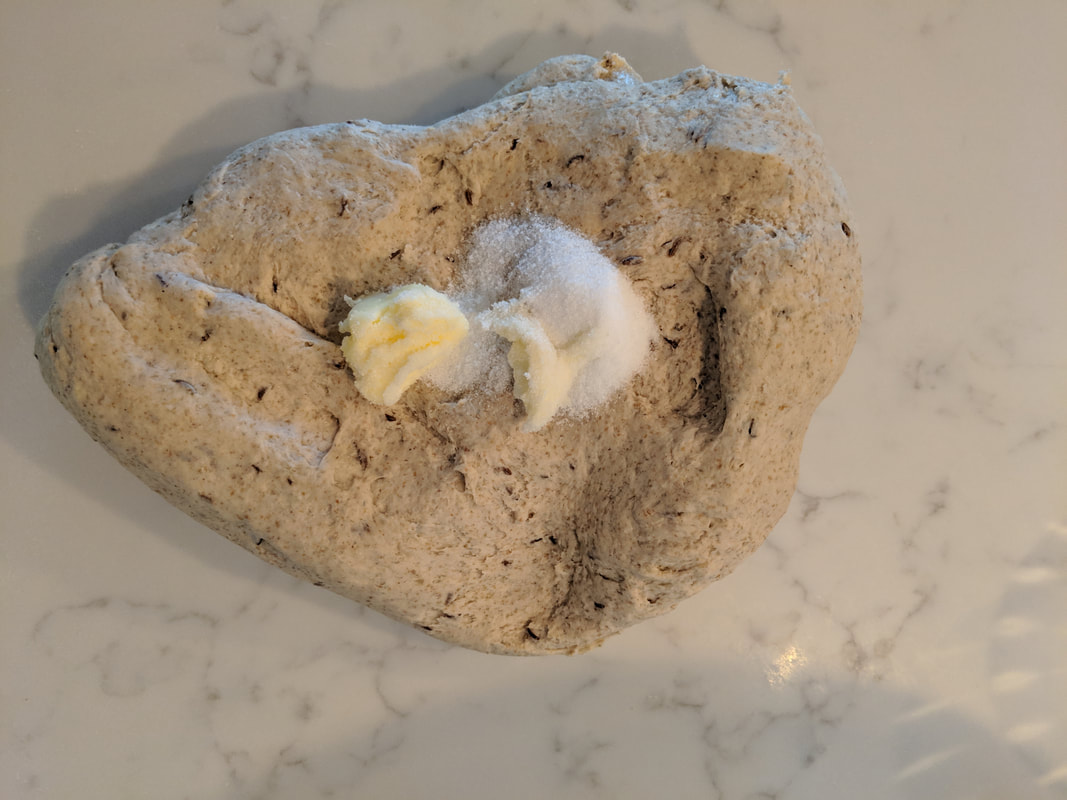
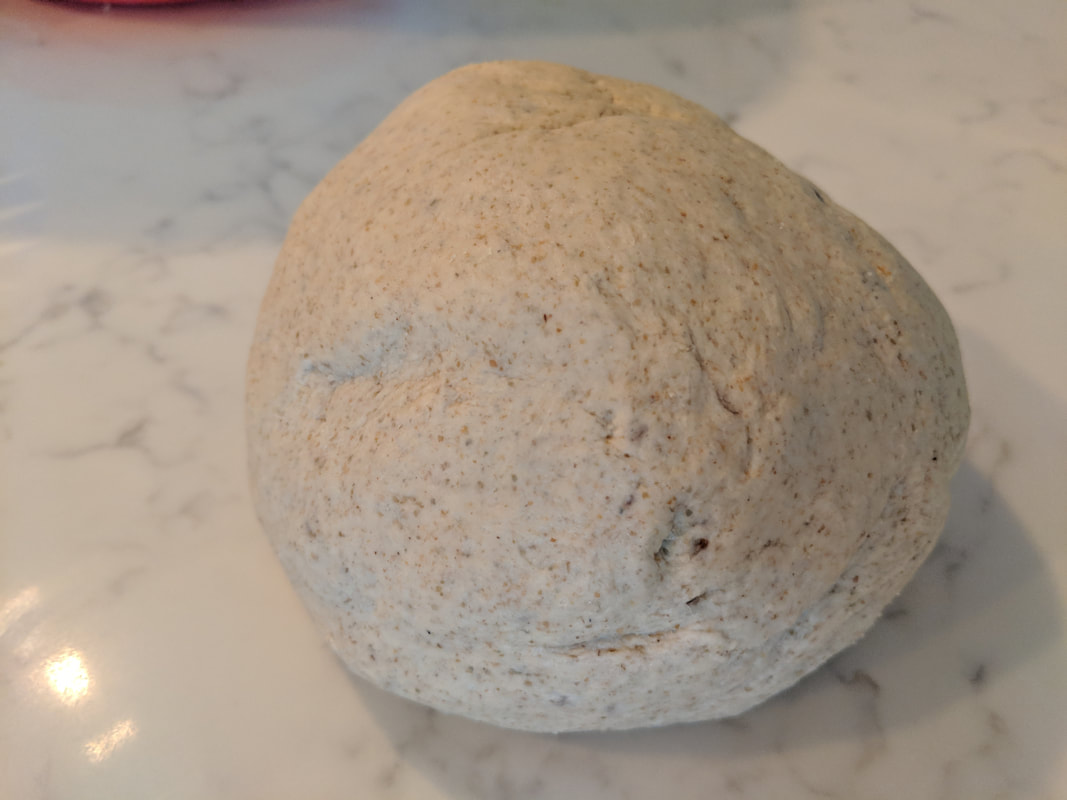
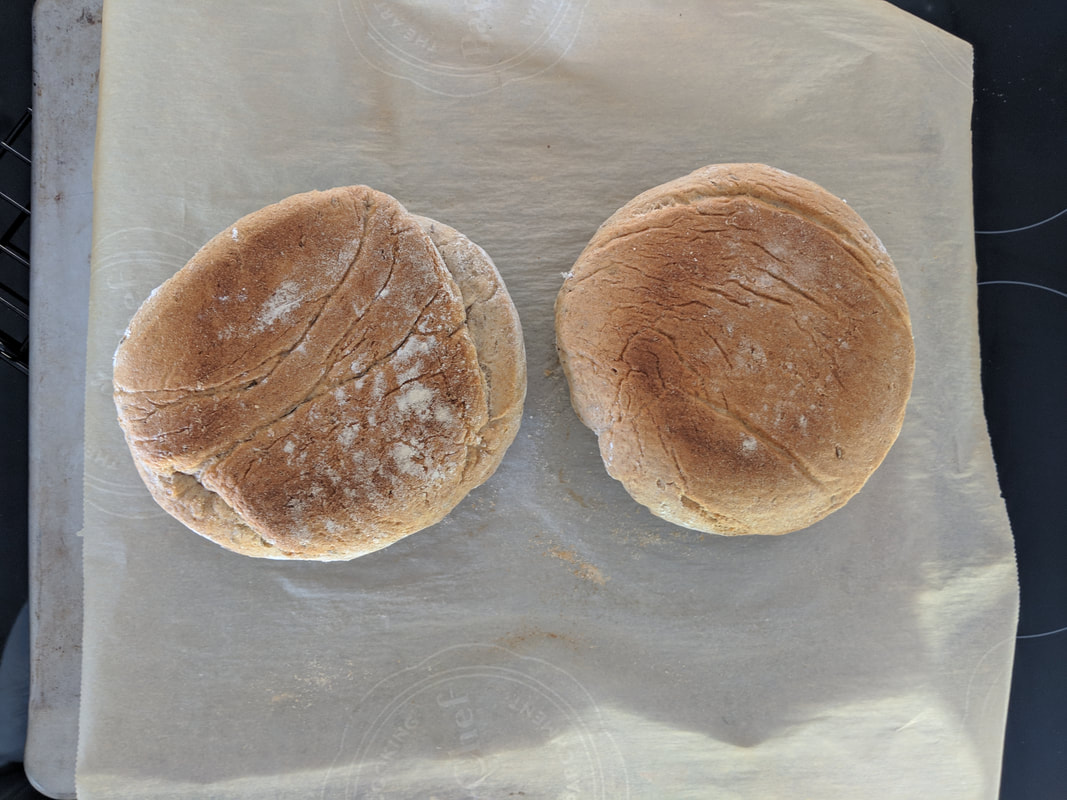
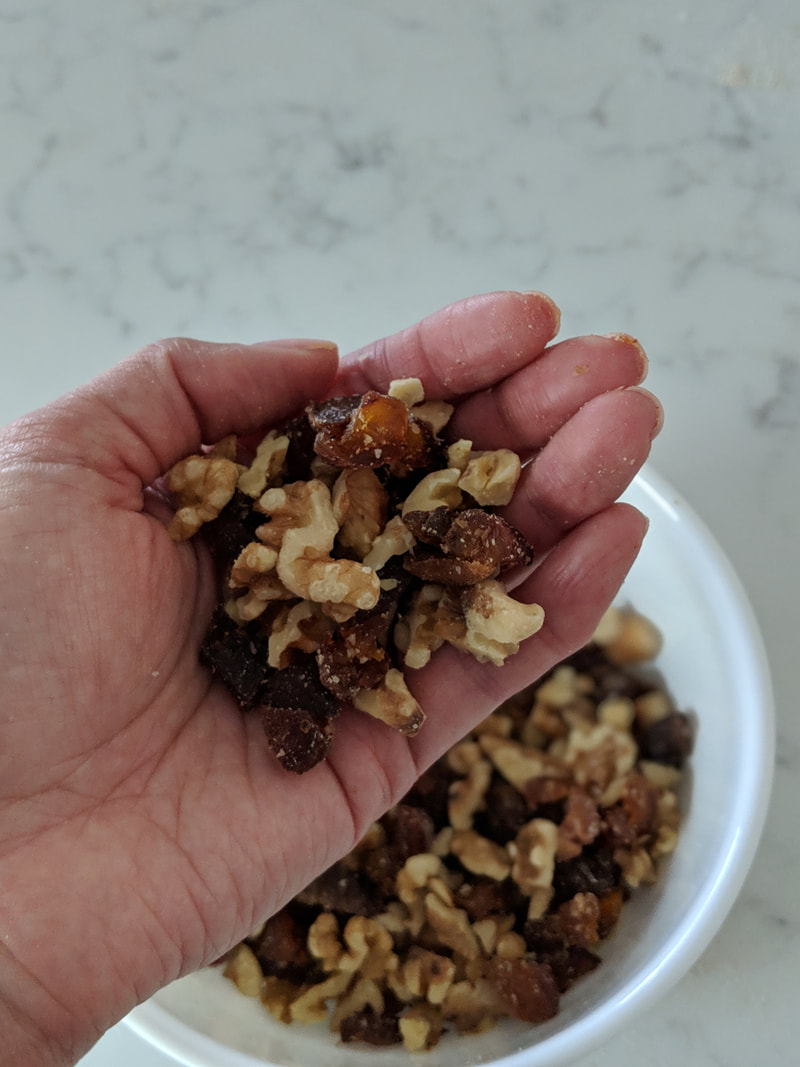
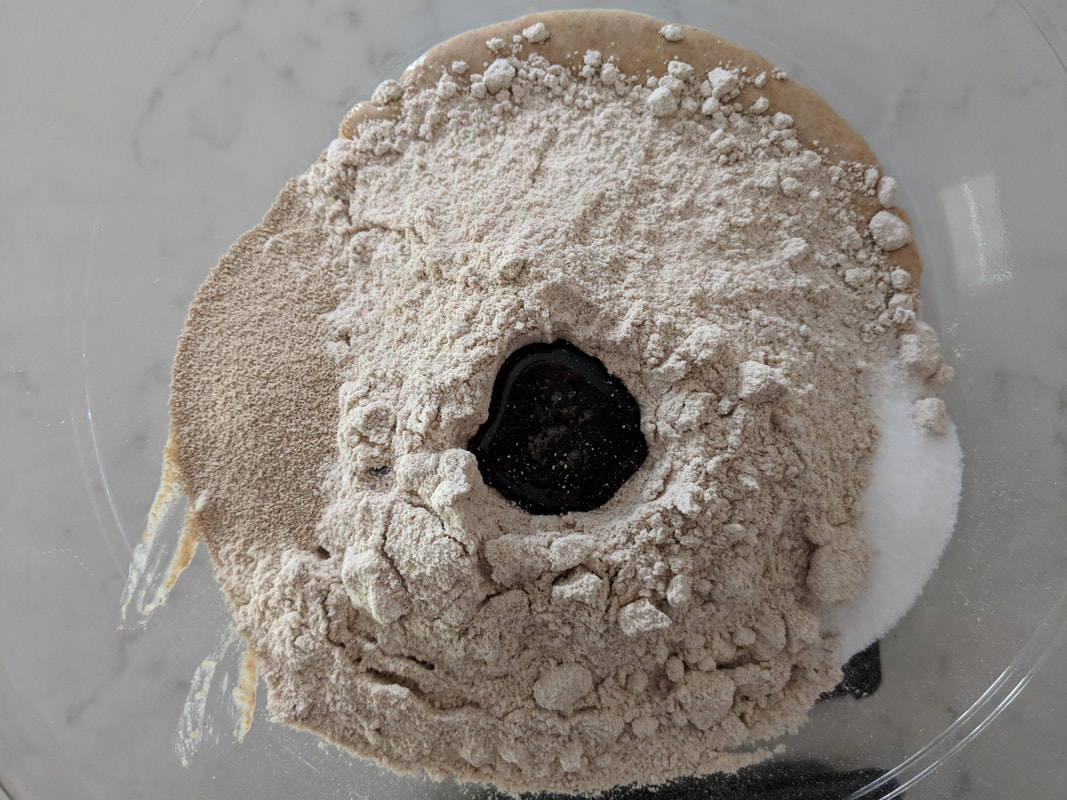
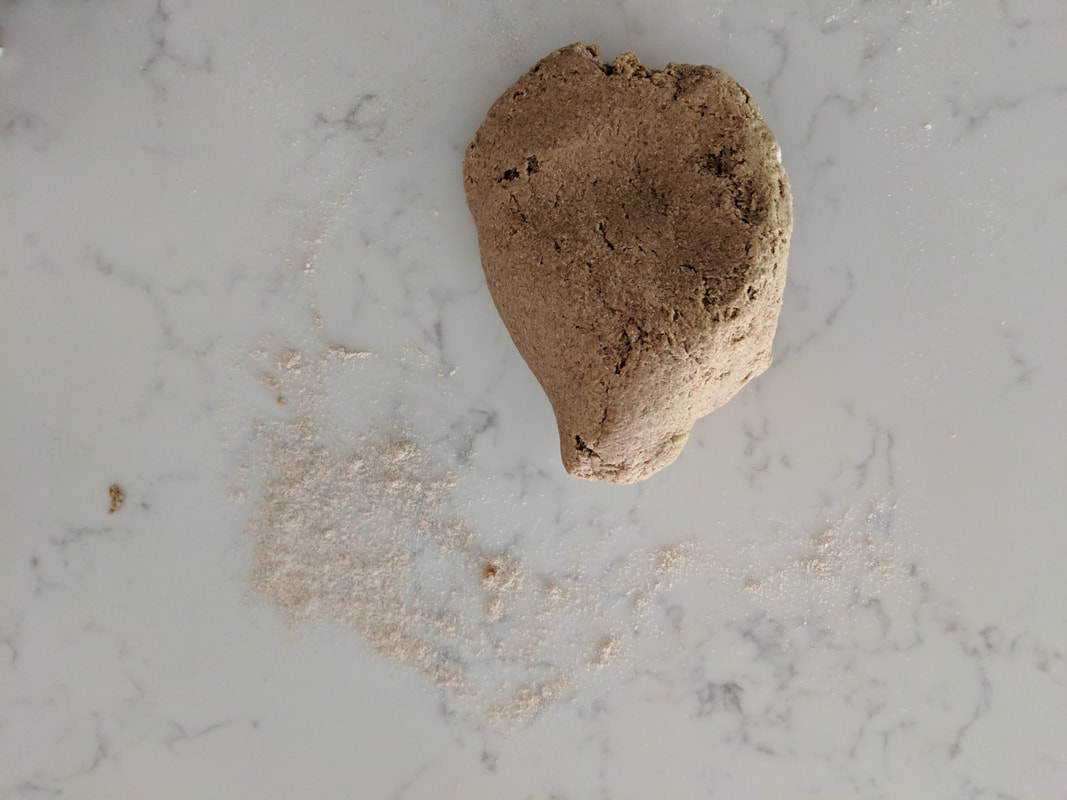
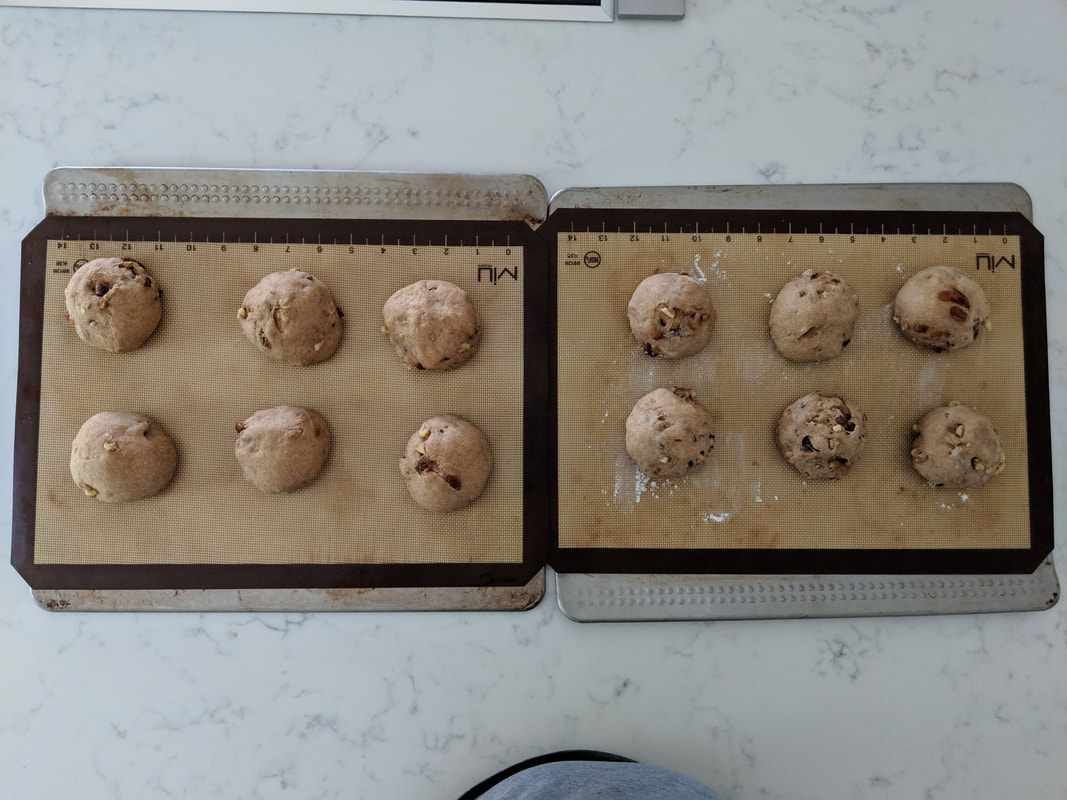
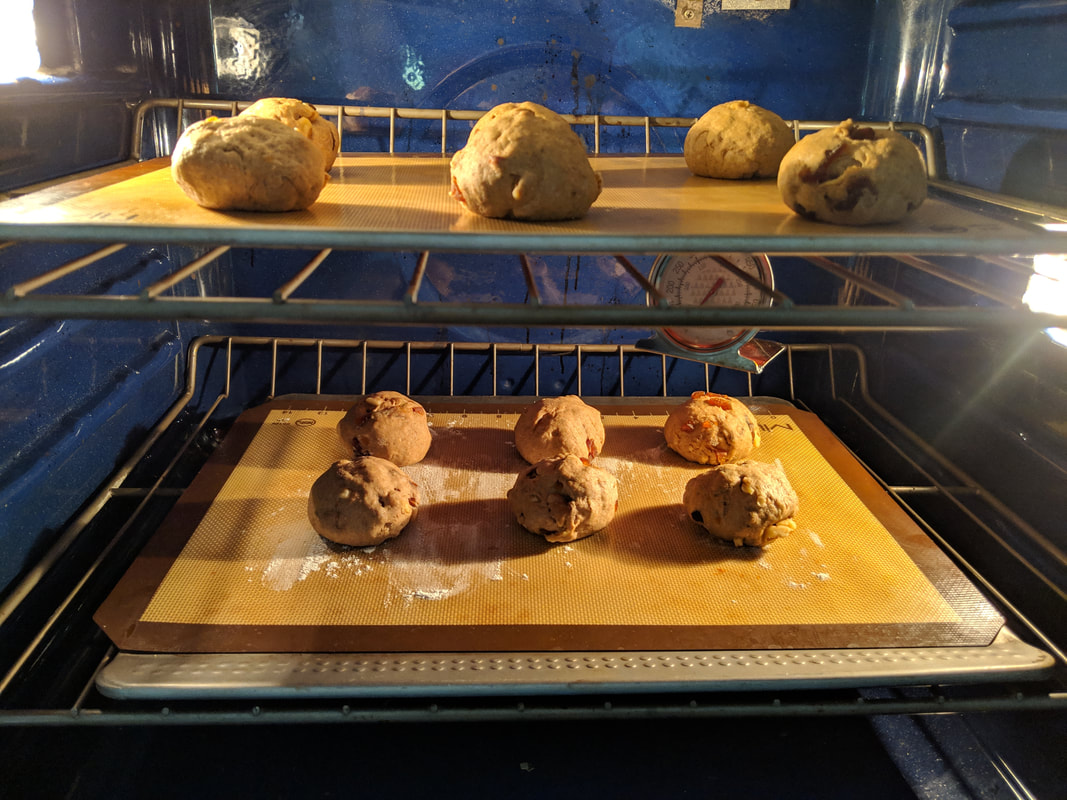
Let's get "ROLL"ingNow, that I had a practice rye under my belt it was time to make my dozen rye rolls. For this I turned to the king of bread himself, Paul Hollywood. In addition to baking my way through GBBO, I want to bake every single recipe in this book too. I might as well utilize any chance I get. #overambitious Unfortunately, I was not practicing baking rye rolls with different flavors because, well, a girl just didn’t have the time. In rewatching the Season 1 episode, I made sure to note the flavors that the bakers were using. I decided that my rolls would be walnut, apricot, and coffee. In researching rye bread recipes, I have found the addition of treacle or molasses is always an option, but not a must. So I figured this coffee syrup just sitting in the pantry that was begging to used, would be great. Mr. Hollywood’s recipe called for treacle (yummy, yummy treacle) and I felt that the coffee syrup would be a good substitute due to its dark color and the addition of some sweetness. This time I was sure to use my rye sour that I had made the week prior. I couldn’t just let it sit there and not use it! I decided to use 250g of the starter and then 250g of rye flour since the recipe called for 500g.
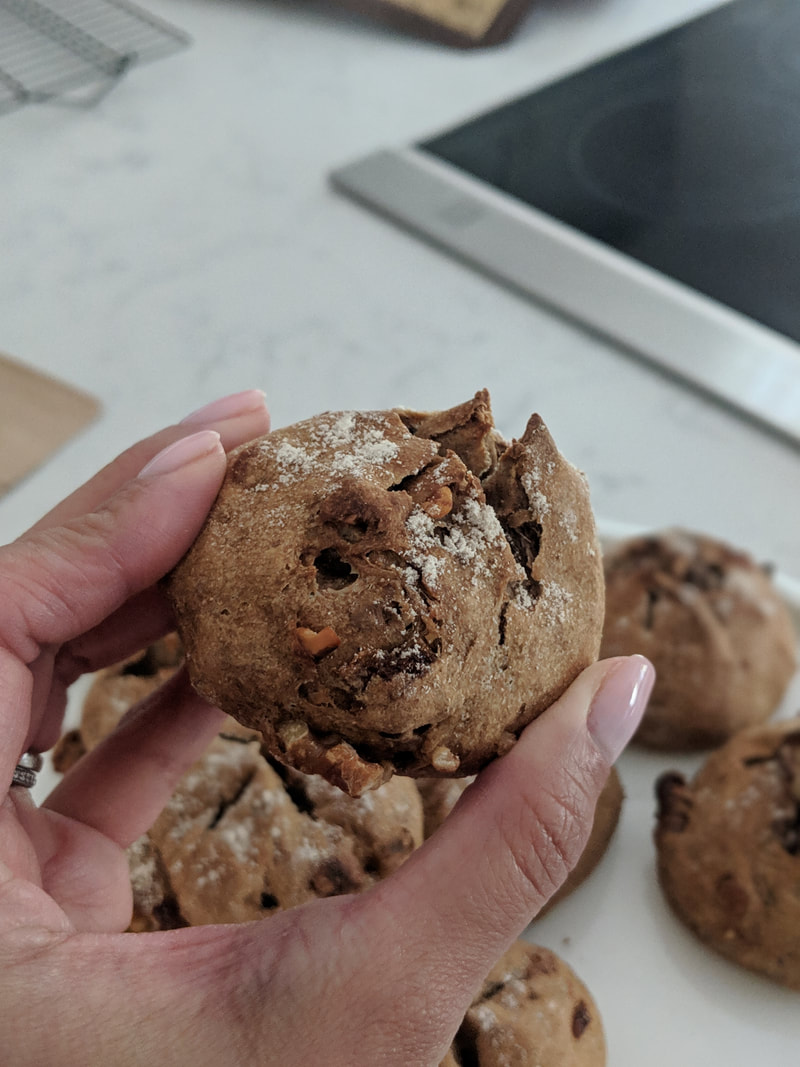
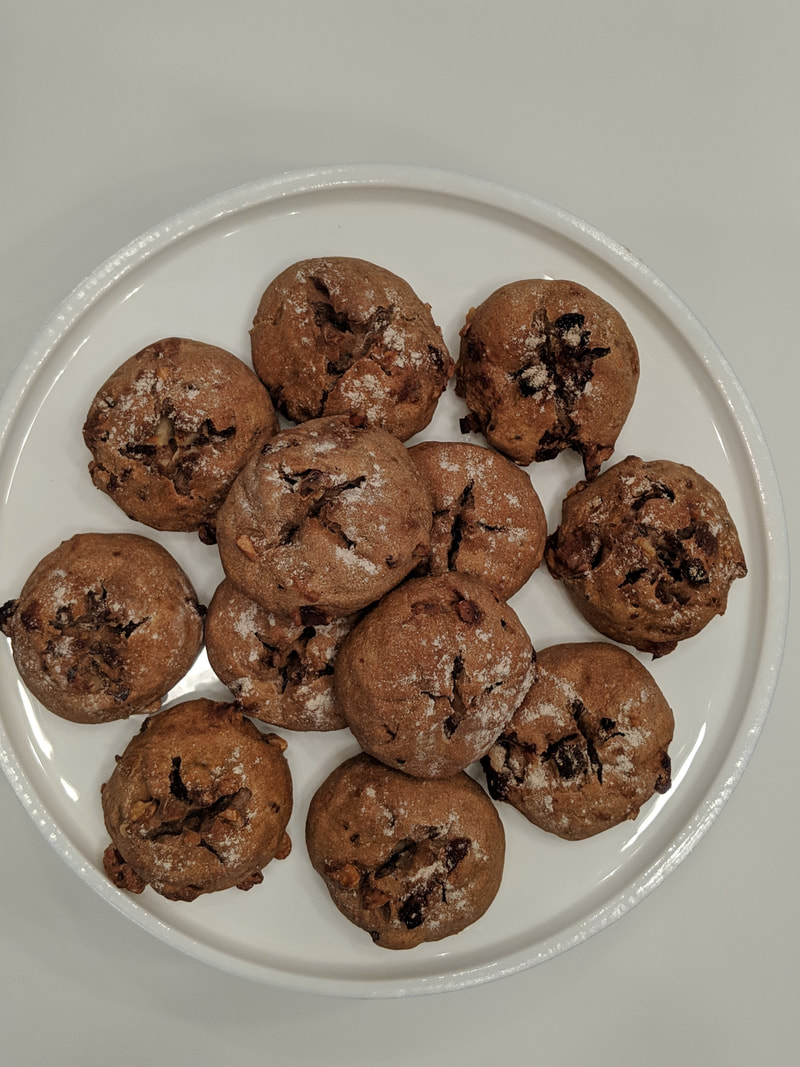
As far as flavor goes, my flavor combo works well, but I couldn’t really taste the coffee. And I love me some coffee. I could smell the coffee during the second proof, which gave me high hopes, but the flavor wasn’t there upon tasting. Just like judges in the tent always warn: if you say a flavor is in your bake, it better be IN YOUR BAKE. So next time, more coffee flavor. The texture of the walnuts (which I toasted before adding to the dough) and apricots, was really good. But, I should have chopped them just a teensy bit more… I had a couple of big chunks of both in bites, so it made it seem unbalanced. Could I really tell that I used a “starter?” No. But then again, I am not sure what I should be looking for in terms of taste. I felt that the rye flavor was abundant and I call that a good sign. My rolls seemed a little small so I think next time making a bigger mixture, and also adjusting proofing times. Also, the steam! While I had steam in the oven… I should have the steam going BEFORE adding the rolls. Darn! Next time. Always learning. As your reward for making it to the end of the blog... please enjoy a video of me eating a roll (below). Until then, Happy Baking. Happy Eating. Happy Repeating. 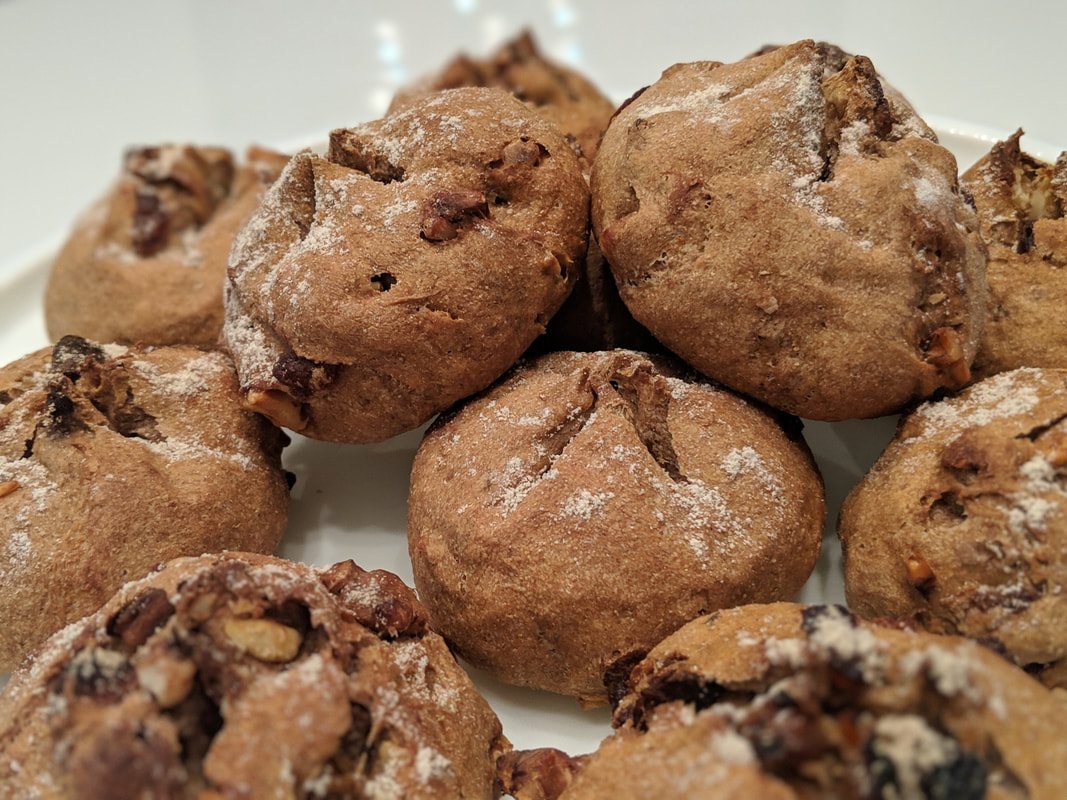
1 Comment
|
DanaAll the juicy facts will be right here. Archives
May 2022
|


 RSS Feed
